
New Boat Build
- Thread starter beekeeper
- Start date
You are using an out of date browser. It may not display this or other websites correctly.
You should upgrade or use an alternative browser.
You should upgrade or use an alternative browser.
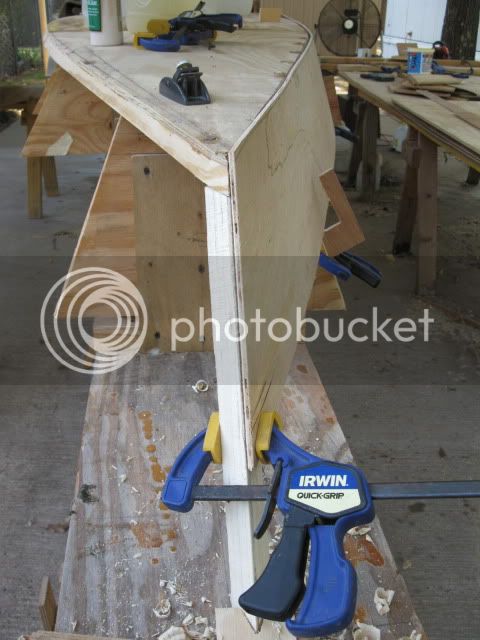
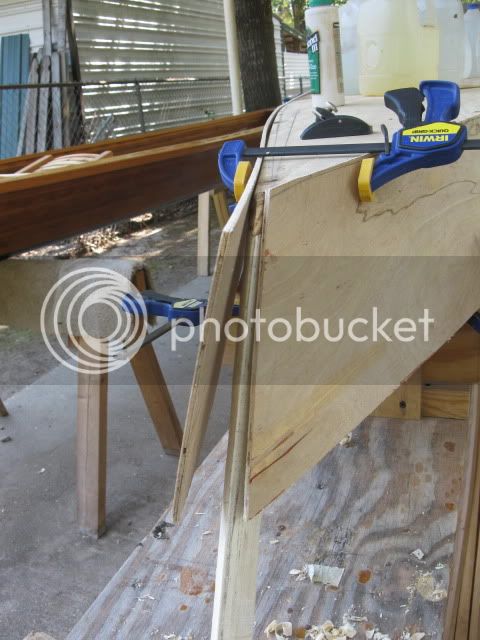
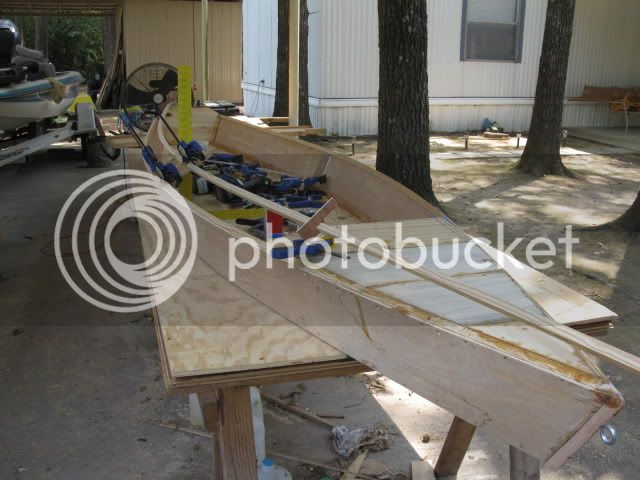
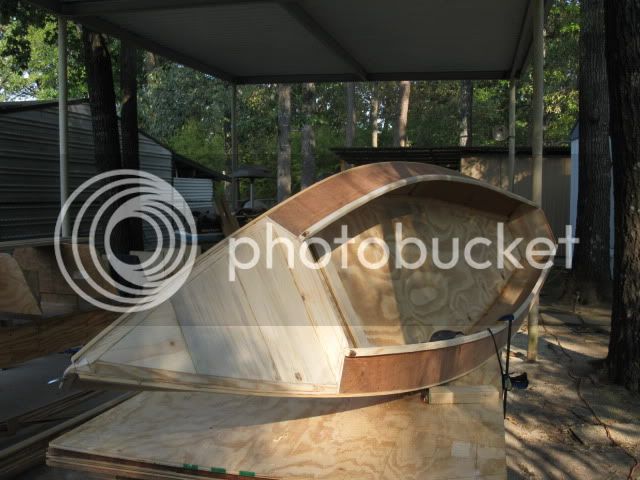
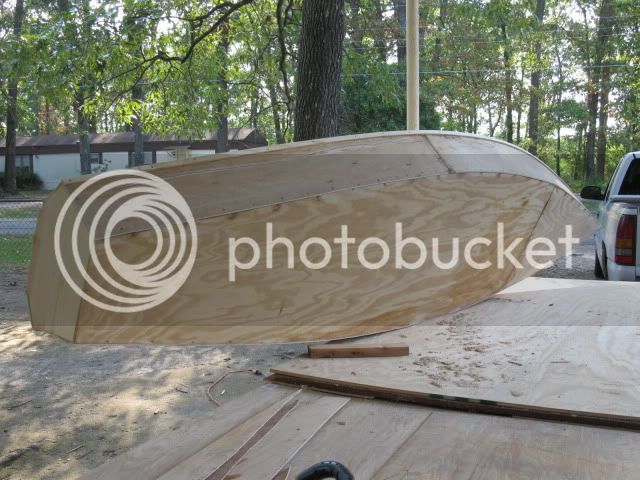
Beekeeper in you're last pic. where the side panels stick up past the bottom, for those who don't have a router in this situation you can use a scrap of plastic laminate(Formica) lay it on the bottom and against the edge and belt sand the side panel down to the plastic without burning (sanding) through the first veneer ply on the bottom. The little lip left sticking up can be orbital sanded flush....just a tip from the cabinet making industry..
Steve
Well anyway to refine it even more use a pencil and mark on the bottom panel all along next to the overlapping side which will tell you when you are touching with the orbital sander....
To put it in different terms say you glue a face frame on a cabinet and the side panel is plywood veneer.. the overhang of the face frame is just enough that you can detect it with you're finger nail ..just mark the side panel and edge of the face frame with a pencil and start sanding..I do this routinely with a belt sander and 80 grit then finish off with an orbital sander..
And Import Cabinet grade ply has a super thin outer veneer...........
Sorry Chuck about the size of the pictures. Using a borrowed computer and program.
woodman
Thanks for the tip. I have been using hand planes more and really like them better than the sander. I'm still learning about them, but they do a good job if I don't get careless or in a hurry.
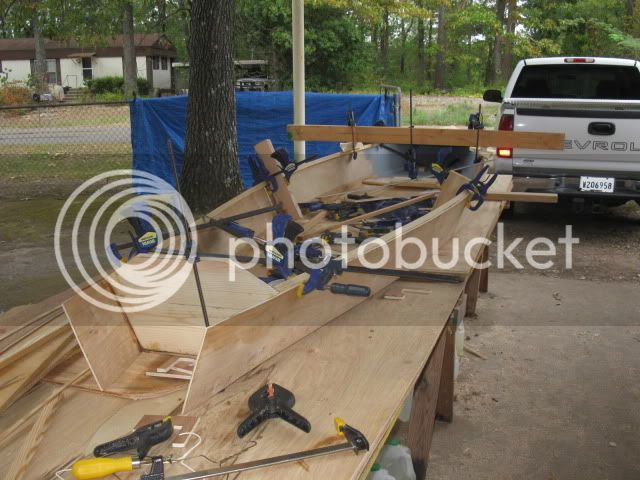
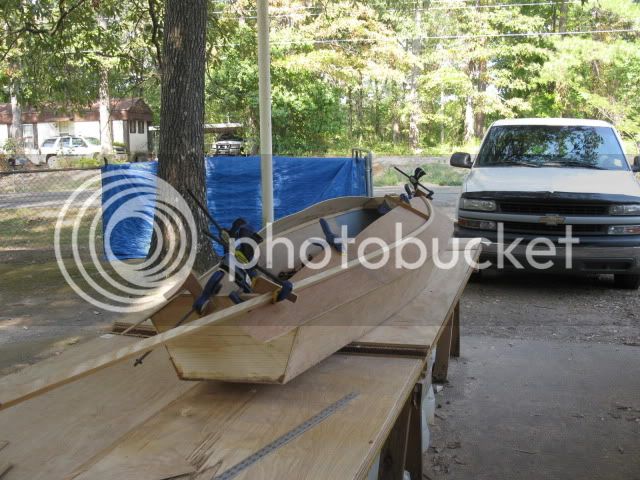
More clamps:
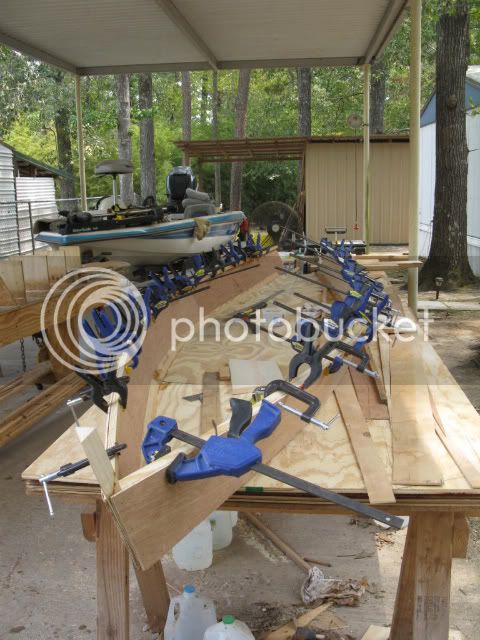
Fit the deck and transom, and attach batter board:
beekeeper
woodman
Thanks for the tip. I have been using hand planes more and really like them better than the sander. I'm still learning about them, but they do a good job if I don't get careless or in a hurry.
More clamps:
Fit the deck and transom, and attach batter board:
beekeeper

Joey
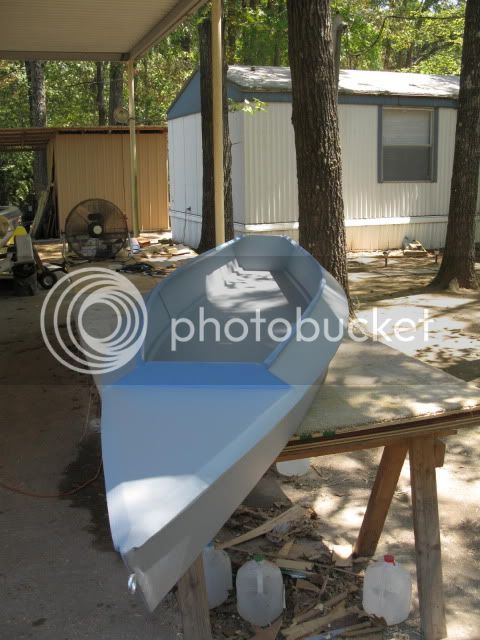
It is set up for trollmotor, either end, and would make a great fishing rig with one. It was designed that way in case it didn't meet my goals. I revisited my goals for building a boat. Simple, no hassel, fit in the back of my truck,comfortable, easy to load by myself, etc. This boat meets those goals pretty well.
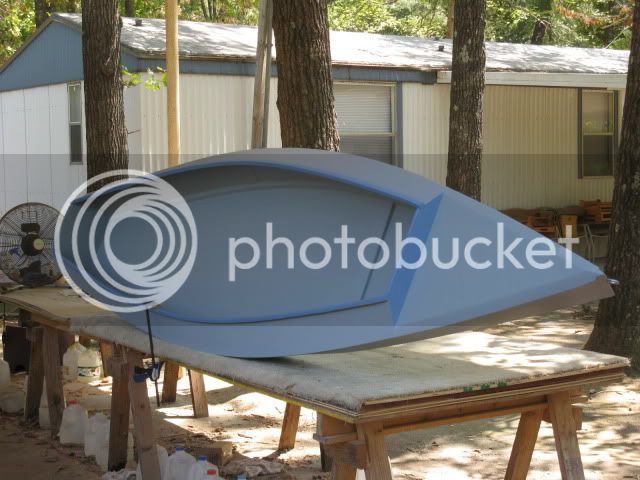
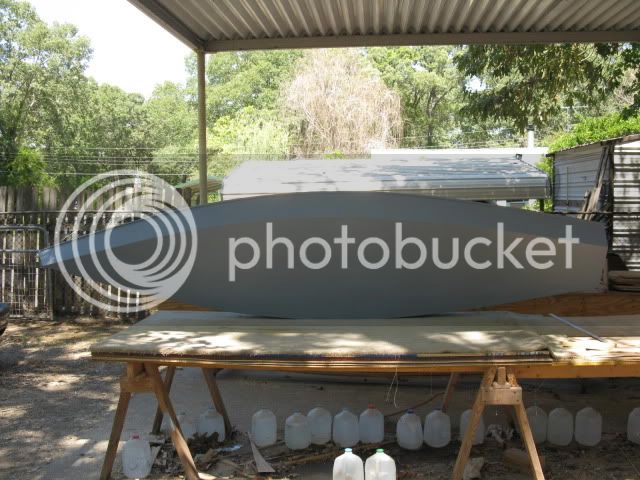
The transom shortens it for a better fit in my truck. The floor width (30"), and flared (30deg.) but tumblehome sides (37" beam/11" deep) allow me to sit high but still reach over the sides. It tracks well because of the reduced rocker (2.5"/1.5").
First trip' impressons were good. Seat height 14+ inches, but very stable. Speed was better than I had thought it might be.
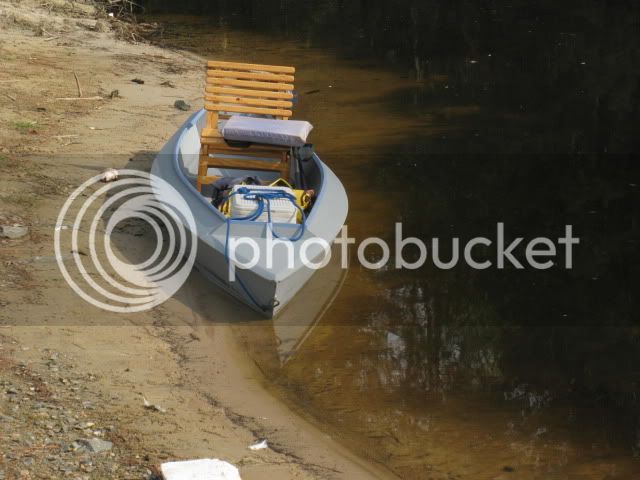
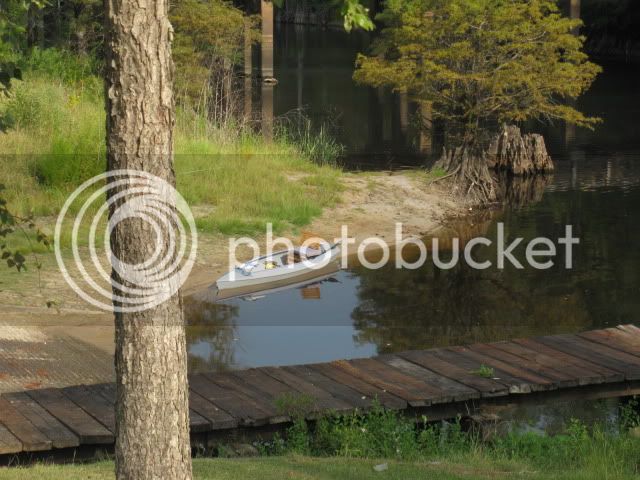
Launch:

Seat heigth and first fishing trip:

Slime:
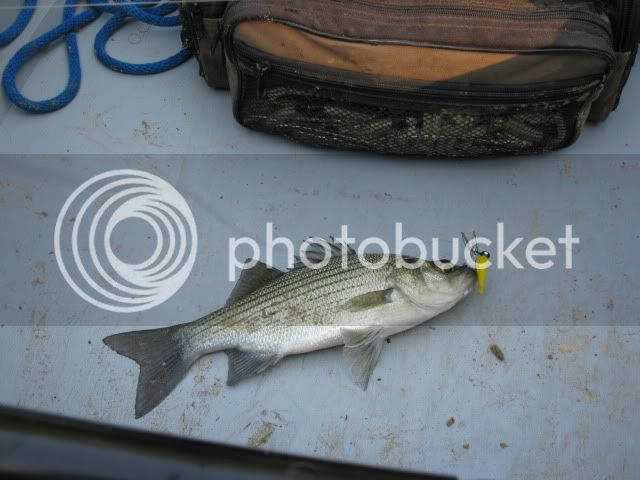
Catfish
Thanks. I did get it wet for a few hours and was very pleased. It feels good to build one and it works like you intended.
beekeeper
It is set up for trollmotor, either end, and would make a great fishing rig with one. It was designed that way in case it didn't meet my goals. I revisited my goals for building a boat. Simple, no hassel, fit in the back of my truck,comfortable, easy to load by myself, etc. This boat meets those goals pretty well.
The transom shortens it for a better fit in my truck. The floor width (30"), and flared (30deg.) but tumblehome sides (37" beam/11" deep) allow me to sit high but still reach over the sides. It tracks well because of the reduced rocker (2.5"/1.5").
First trip' impressons were good.
Seat height 14+ inches, but very stable. Speed was better than I had thought it might be.Launch:
Seat heigth and first fishing trip:
Slime:
Catfish
Thanks. I did get it wet for a few hours and was very pleased. It feels good to build one and it works like you intended.
beekeeper
JD, I think your gyros are getting more stable. That high seat would have given you trouble a year or two ago?
Kayak Jack said:JD, I think your gyros are getting more stable. That high seat would have given you trouble a year or two ago?
I know I'm overweight, :? but I didn't know I had gyros also!
:roll: A seat that high would give me trouble in my other boats today. Seat time has improved my "gyro" but this boat was built to work with a seat 14" to 16" high. I wanted to sit in an upright position like my seats in my bass boat are.
seedtick and Keith's lessons, and my experances with my other boats have helped me reach this goal. More trips in this boat will tell how well it works. Right now I'm pleased.
beekeeper
loafer said:Hey Bee
I like I like I like
Can I borrow your molds
Loafer
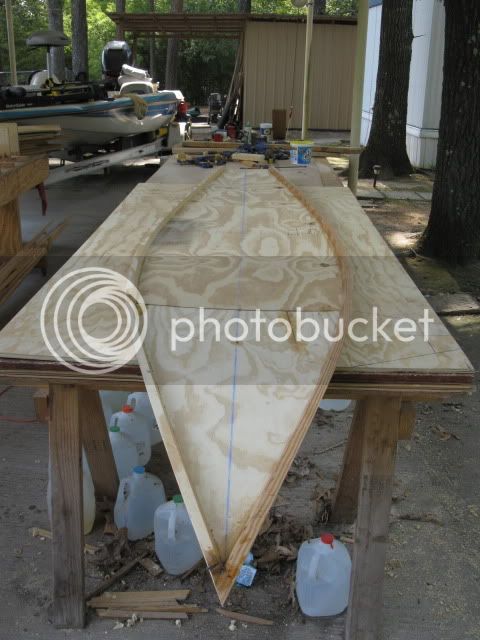
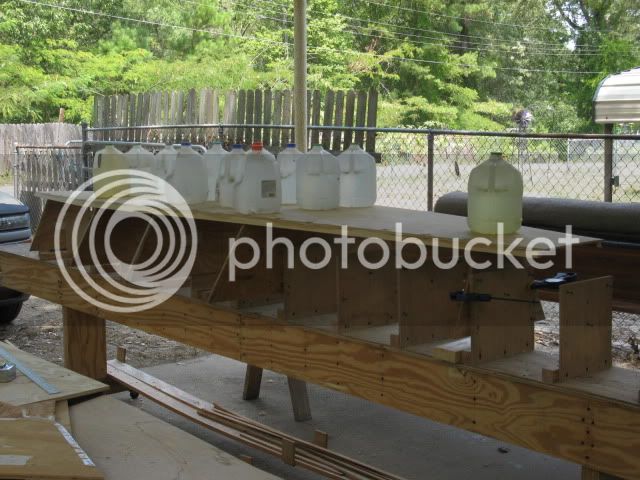
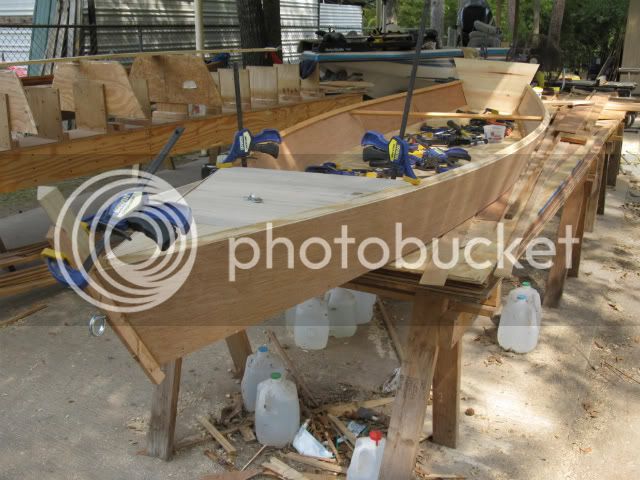
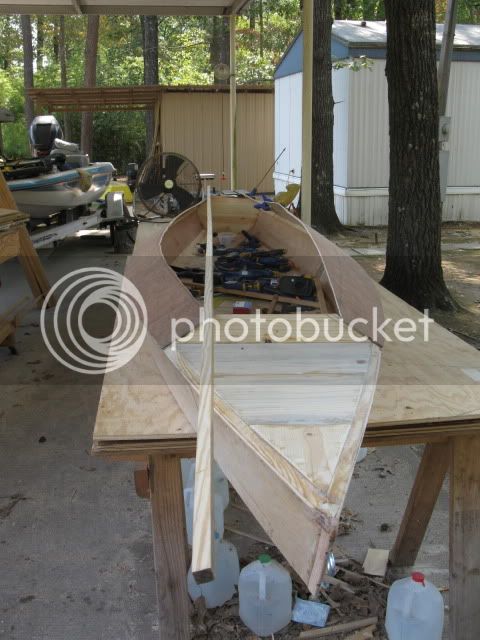
I just remember it kind of looks like the boat you showed me at Pipers. I'm sorry but there were no forms or mould. Picture #2 is the floor sitting on my strong back and some of the stations I used to build my stripper pirogue. They were only used to support the floor at the rocker I wanted. Gator Boats build method uses 5 gal. buckets to support the floor while the sides are attached.Their rocker is set by the angle the chine log gives you, not by how you shape the floor.
A form/mould to set the rocker could easly be made by tracing and cutting the arch on to a 2"X 8" board. Weight the floor to it and then just attach the sides.
beekeeper
Coal said:Nice, I really like your boats. You make it look so easy.
Thank you and woodman for the compliments. It is easy or I couldn't do it. The method I used (http://www.gatorboats.com/) is as easy as you could ask for. I made it somewhat harder by increasing the flare to the sides and adjusting the rocker. It is inexpense and you only need basic woodworking skills and tools. No fiberglassing to learn, or stressing over the results.
beekeeper
Built a new base for my seat. The seat is now 15" high (18" with the cushion). Took the boat out today to test the stability and for a slime coat. The boat is very stable and worked fine. I managed 4 bass and a goggleye. Something big took me for a sleigh ride until it came unhooked. These little boats are fun! Boat paddles well for a fishing boat. Seems to be a lot of turbulence because of the transom. More paddling time is needed to pass final judgement, but I like it a lot. I think beesboy mentioned Thursday morning. Guess I'll just have to suck it up and go again. :roll:
beekeeper
These little boats are fun! Boat paddles well for a fishing boat. Seems to be a lot of turbulence because of the transom. More paddling time is needed to pass final judgement, but I like it a lot. I think beesboy mentioned Thursday morning. Guess I'll just have to suck it up and go again. :roll: beekeeper