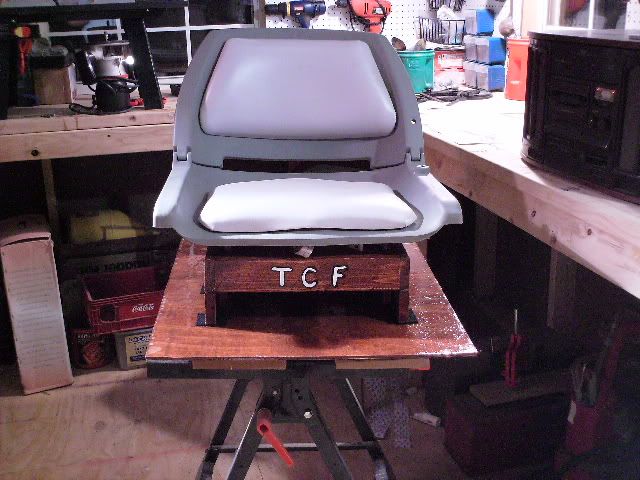
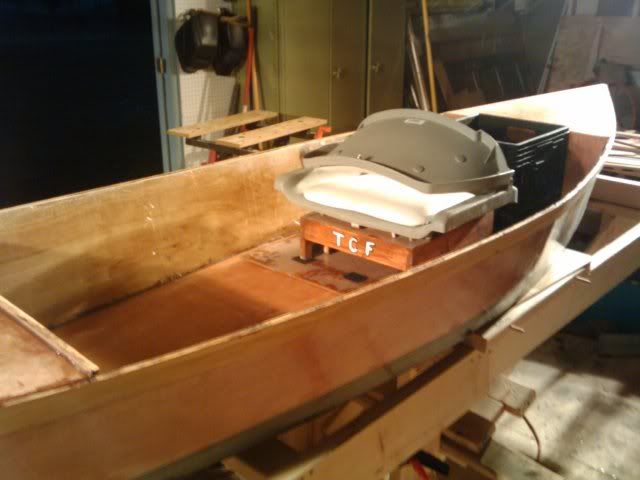
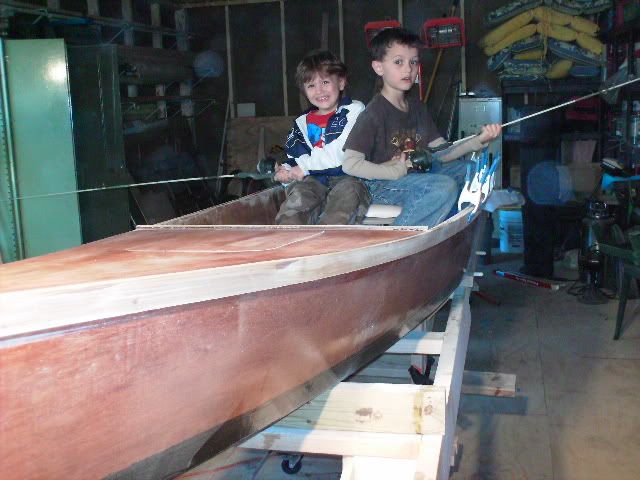
My Brother, Rev TCF on the TKF forum, liked my Bumble Bee but he wants something shorter. He loves to fly fish and does some river fishing. He also is a wide body person like his older brother.
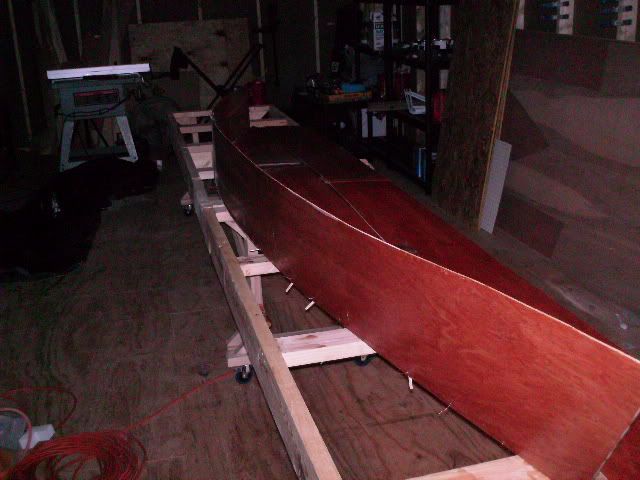
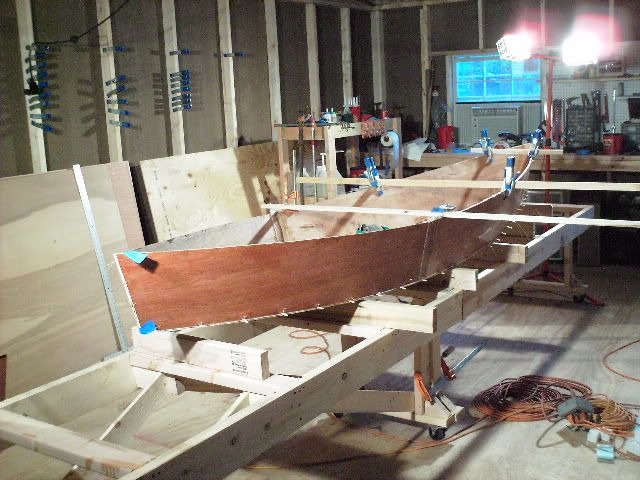
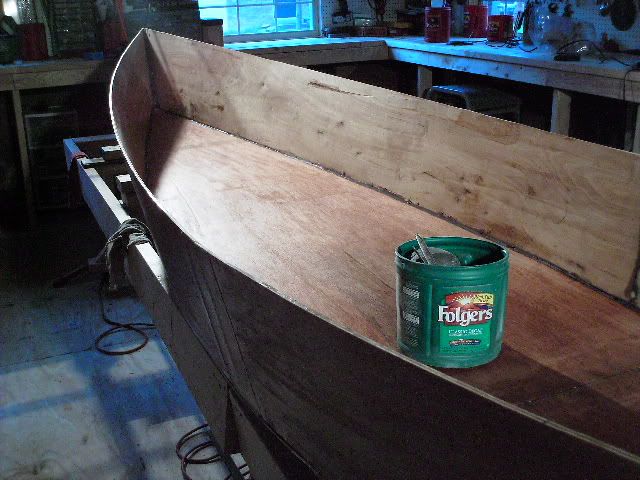
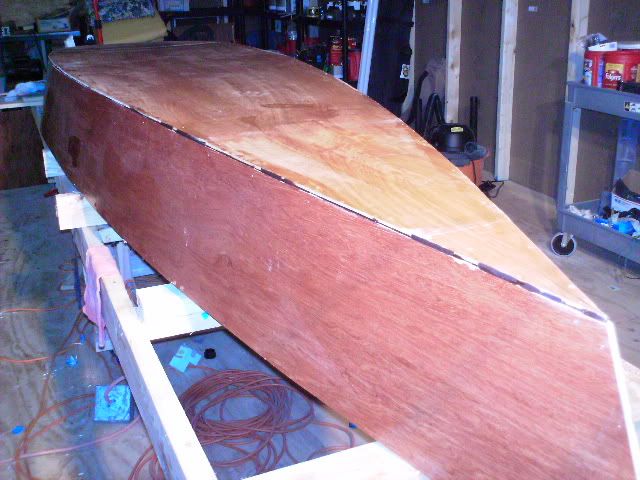
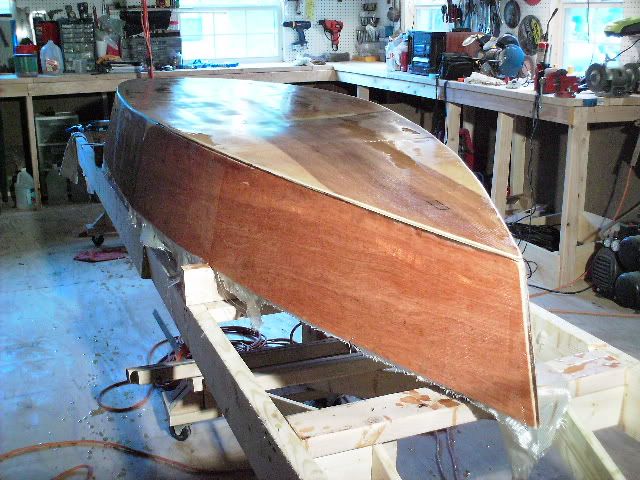
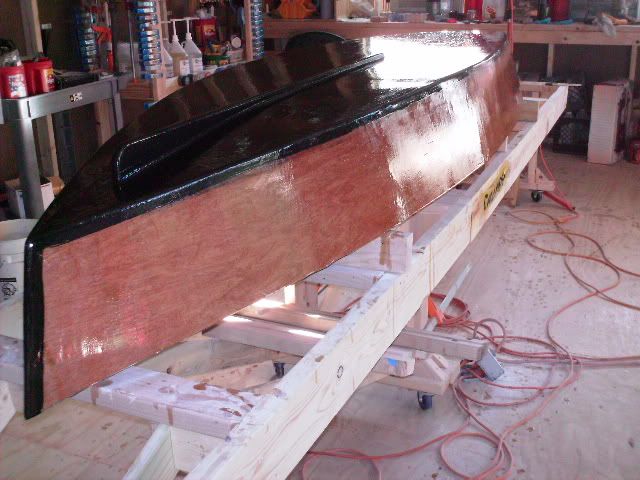
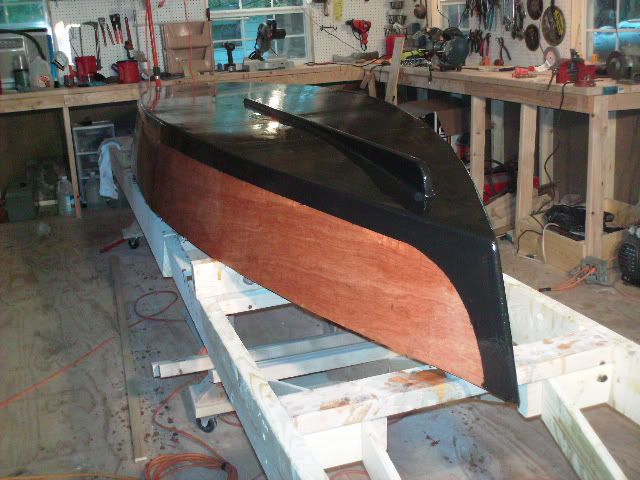
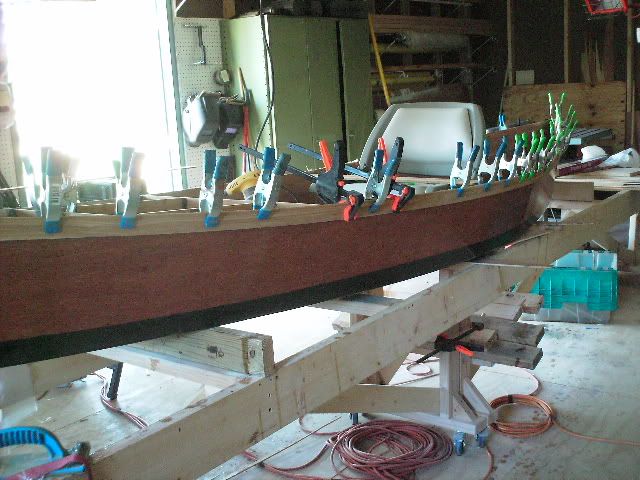
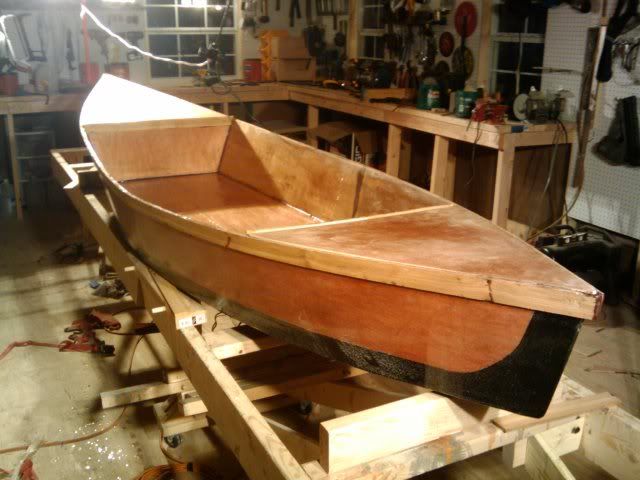
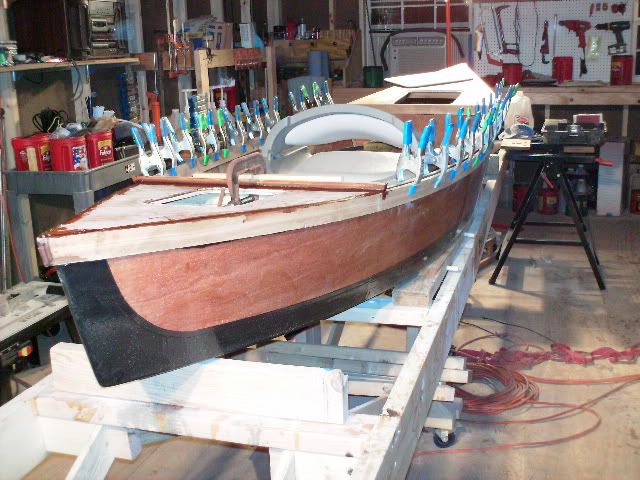
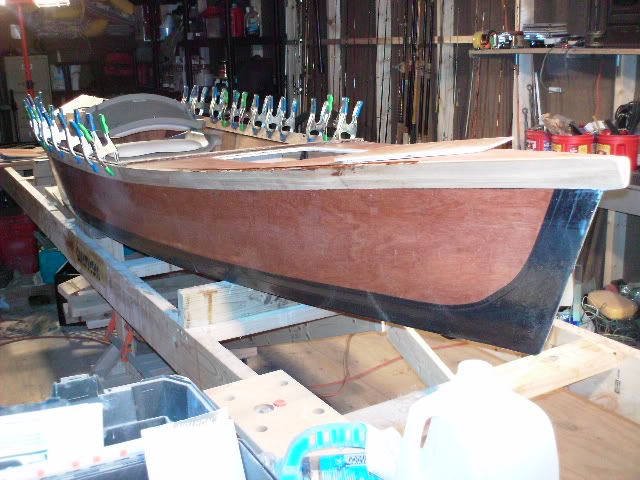
Well we collaberated and came up with this design, now my challenge is, "can I build it to look like this?" And, "will it float?"

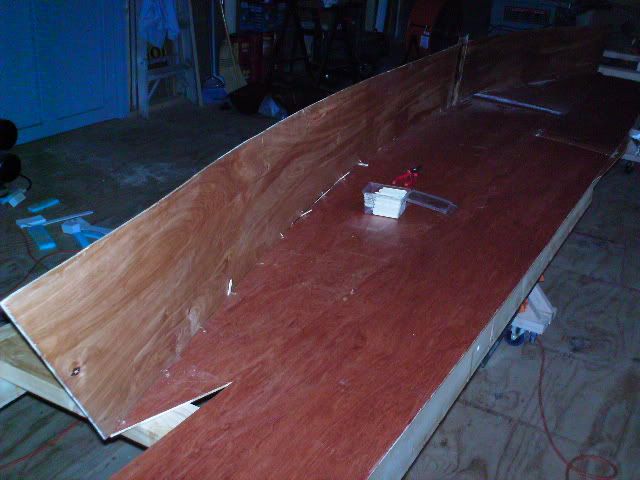
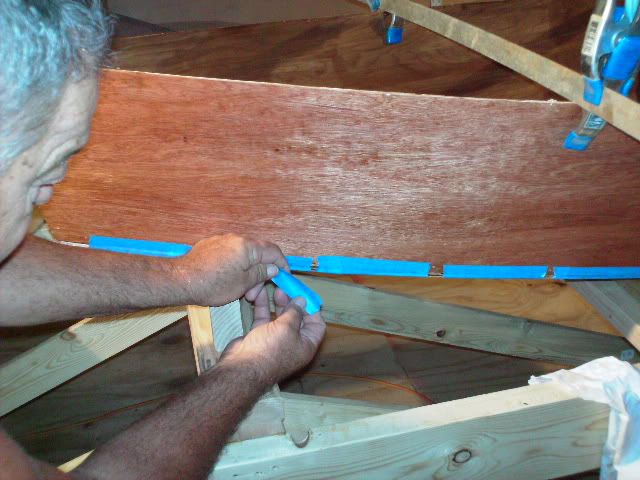
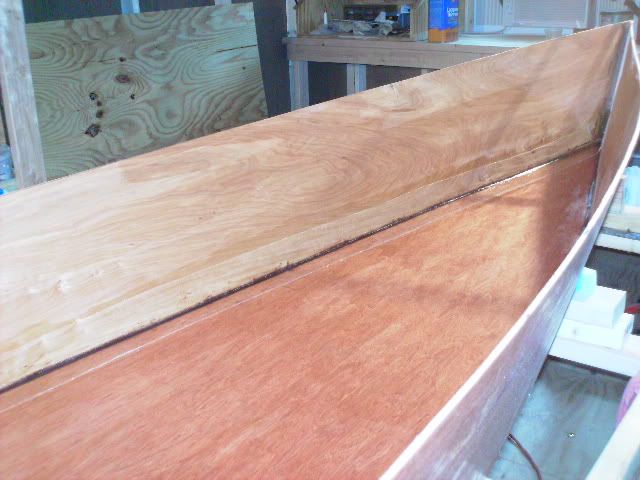
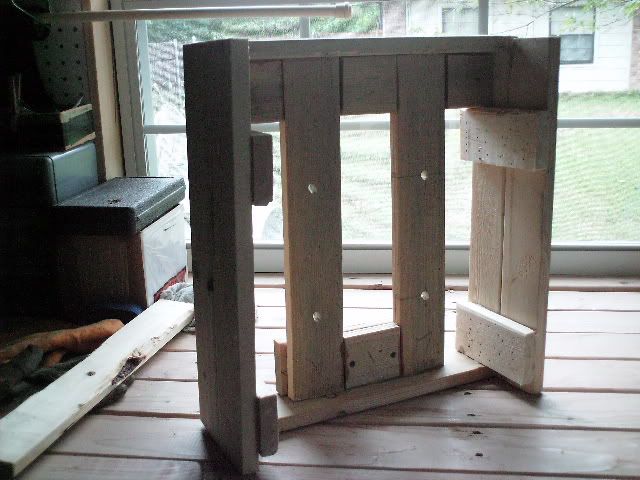
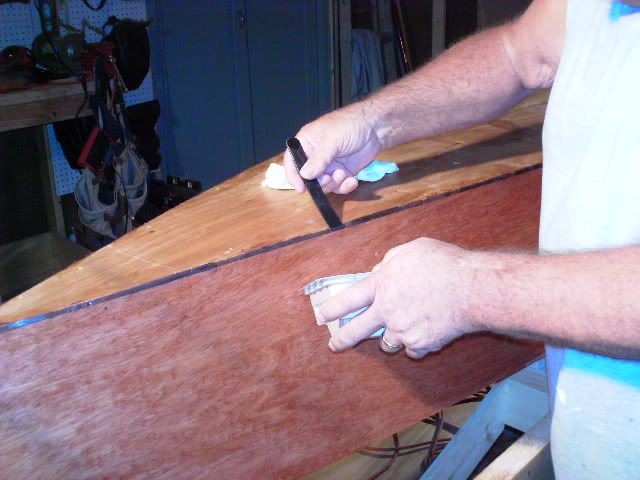
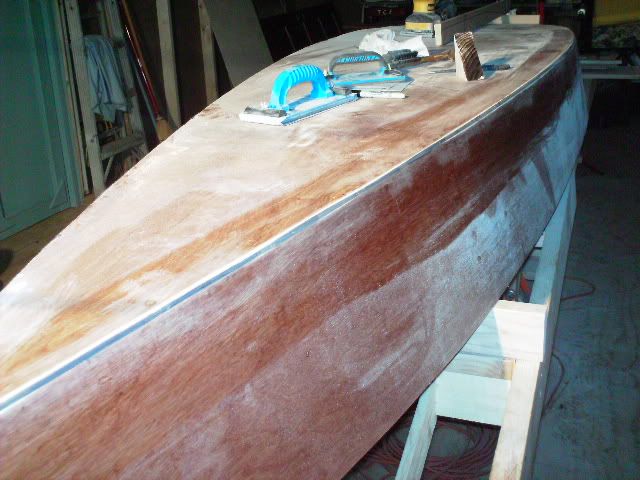
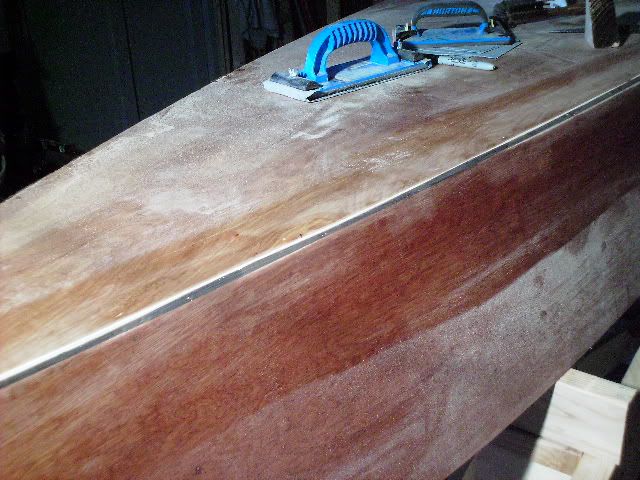
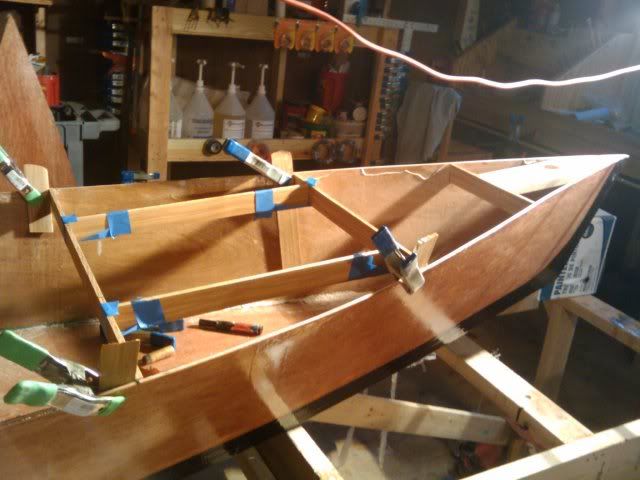
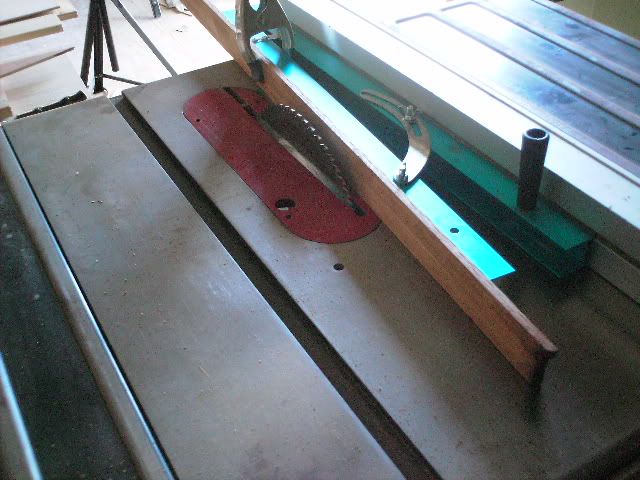
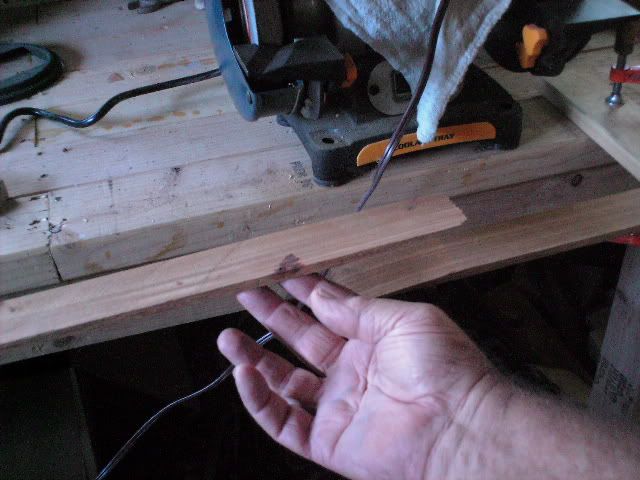
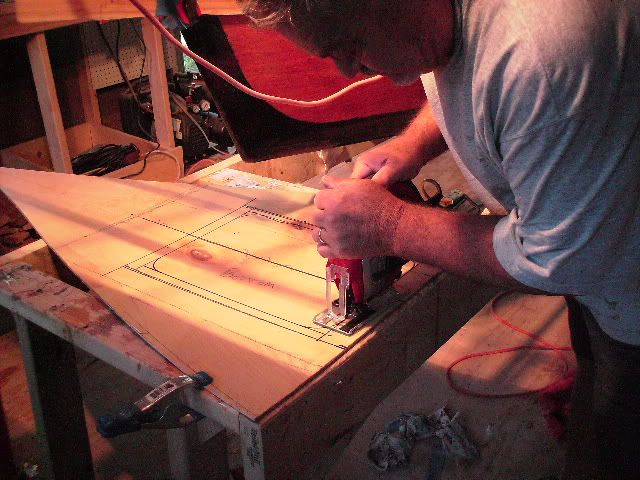
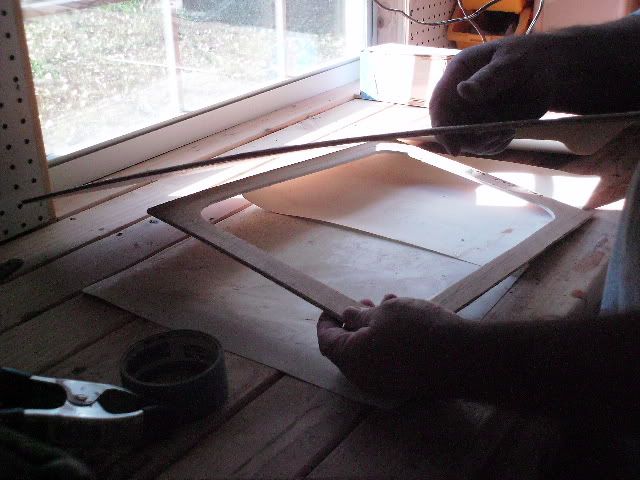
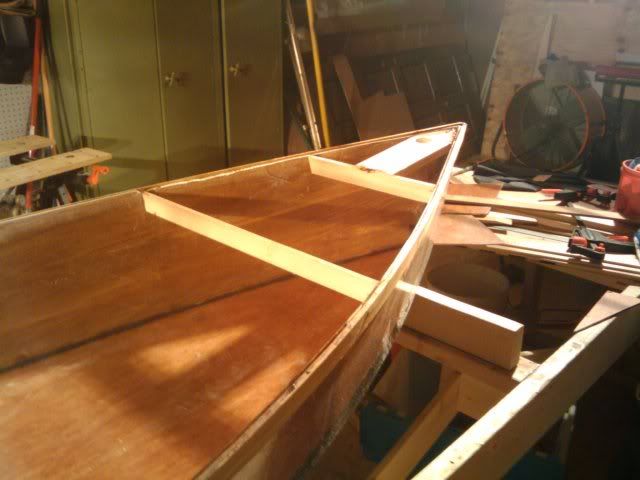
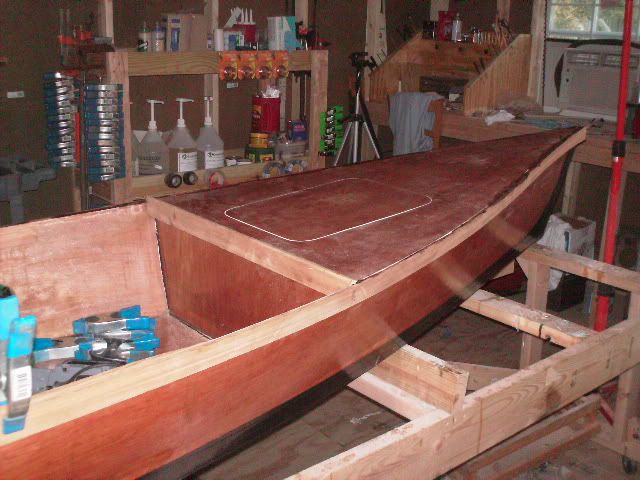
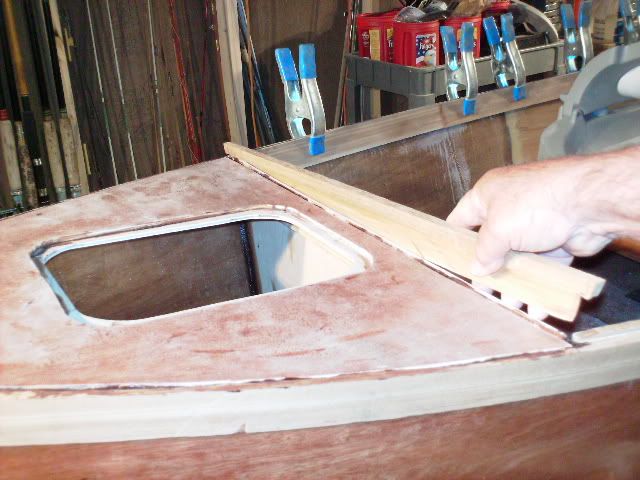
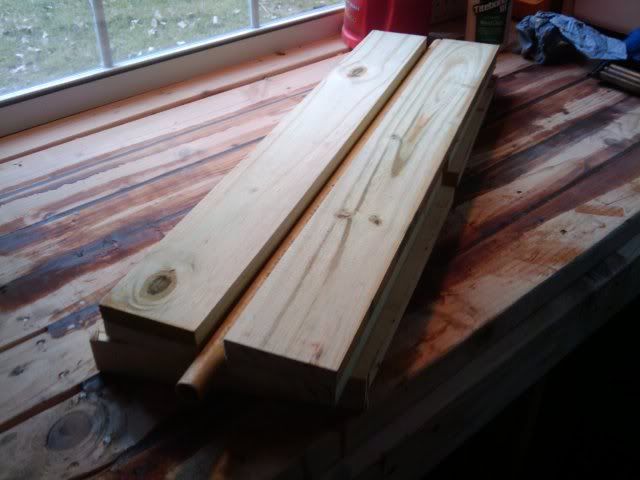
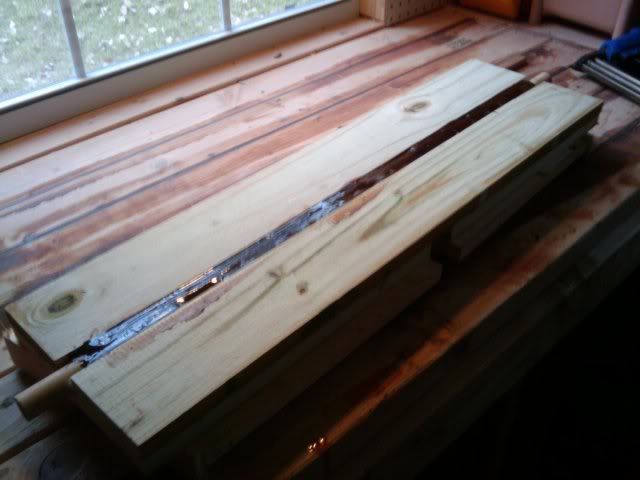
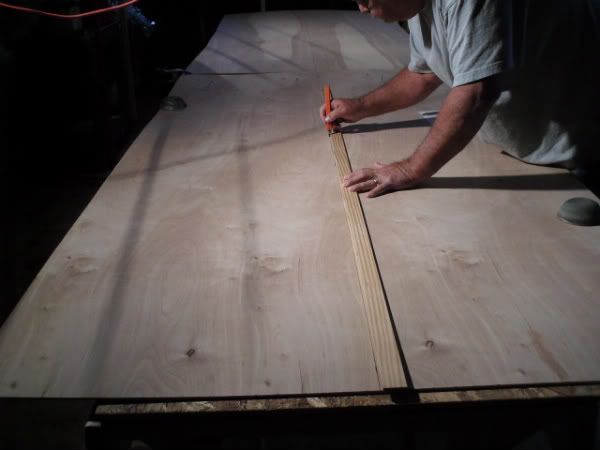
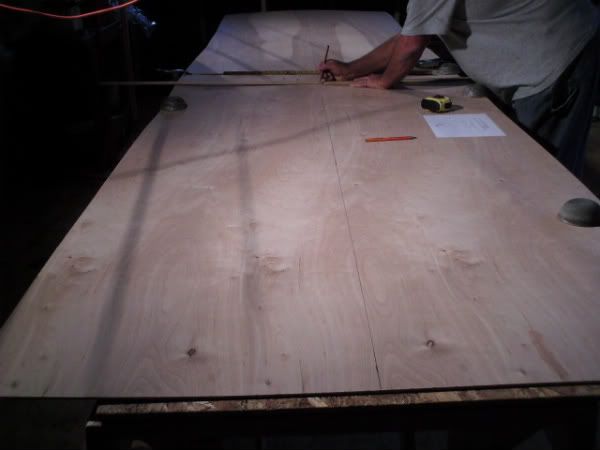
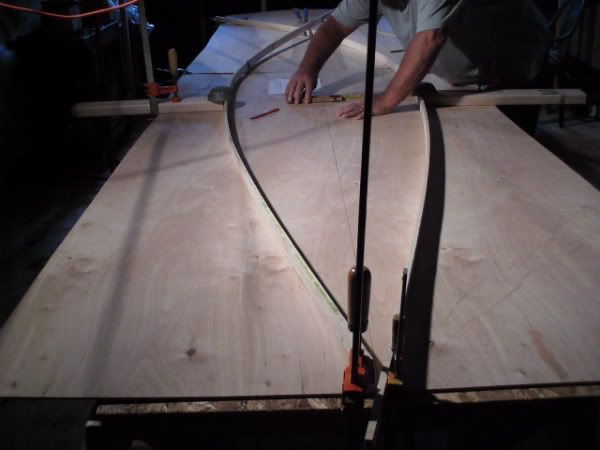
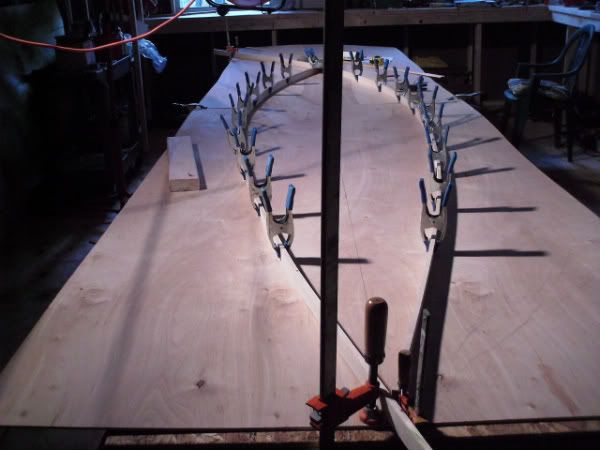
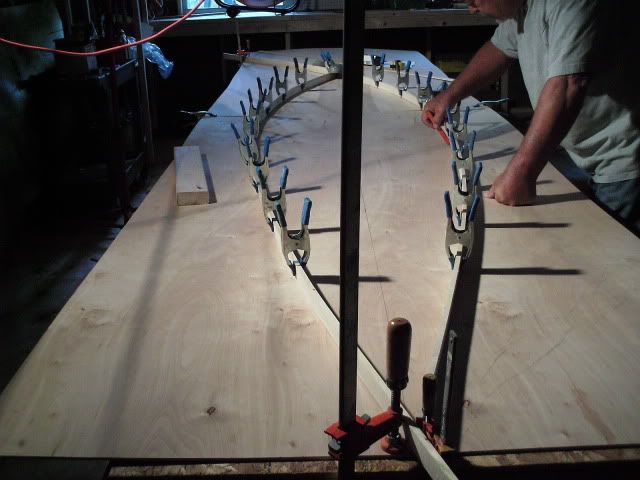
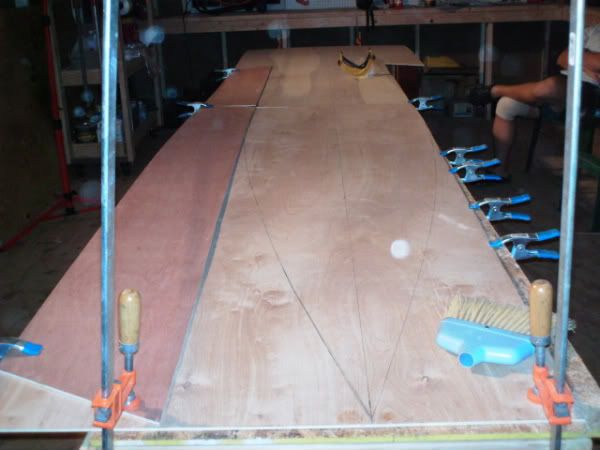
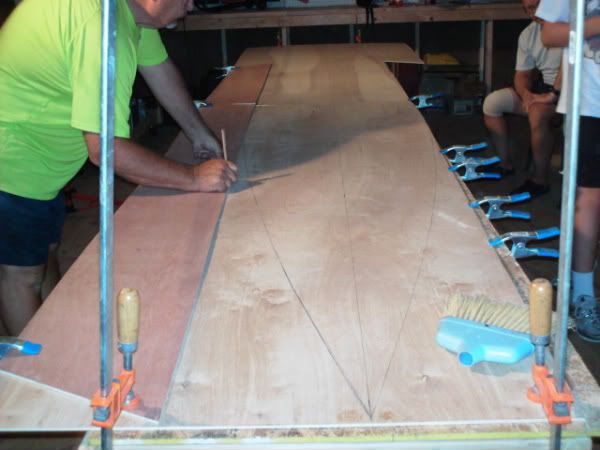
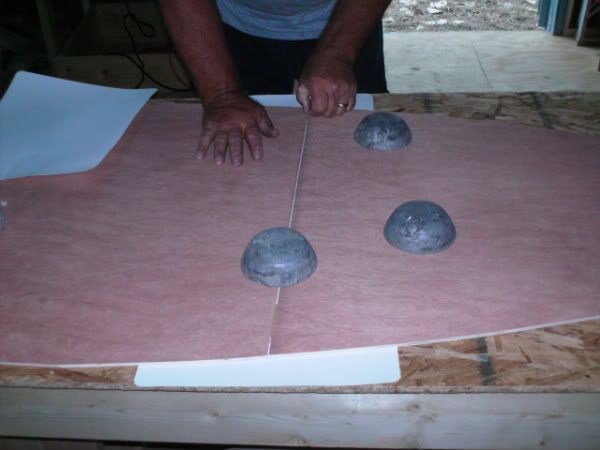
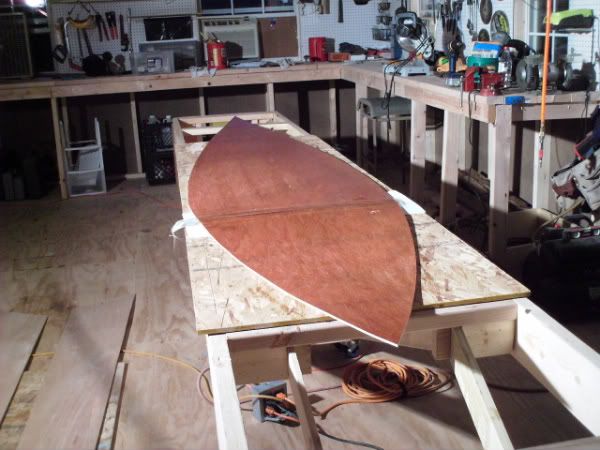
First comes the measuring, marking and laying out. Egad! All the measurements work out first try!
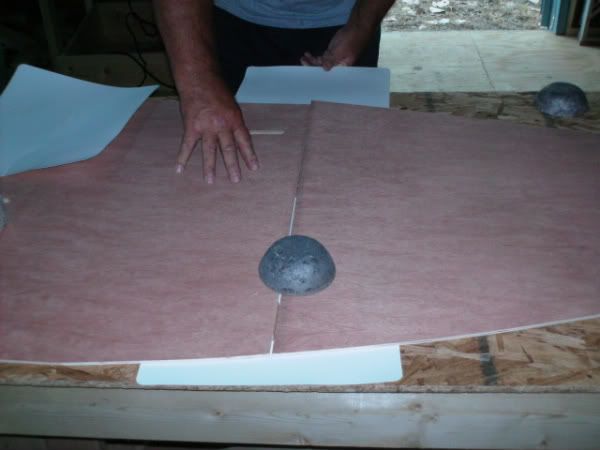
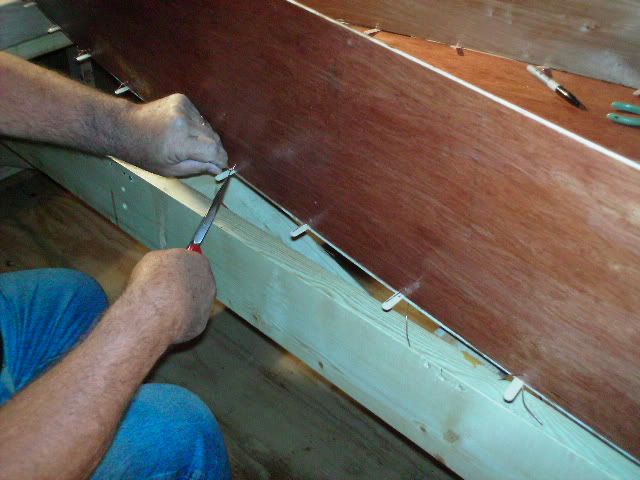
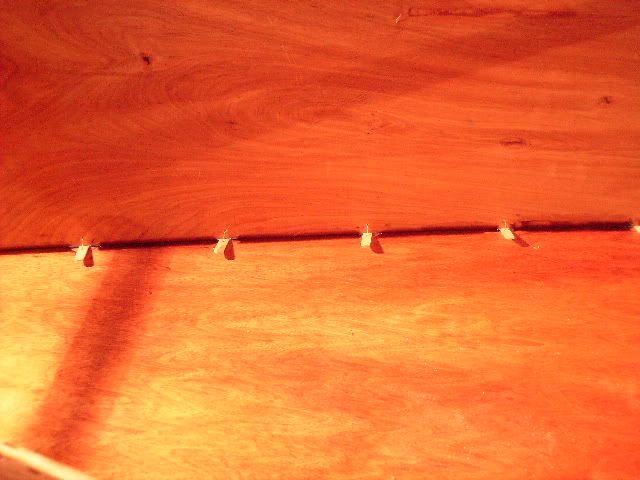
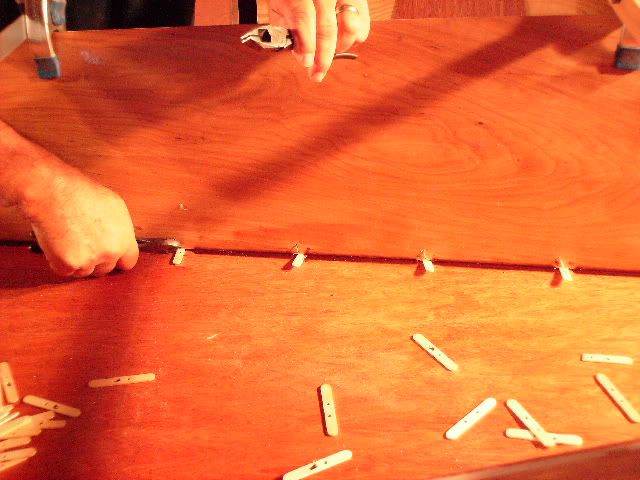
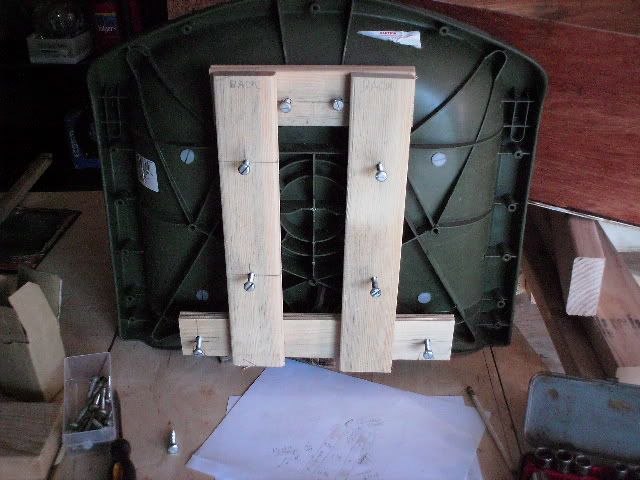
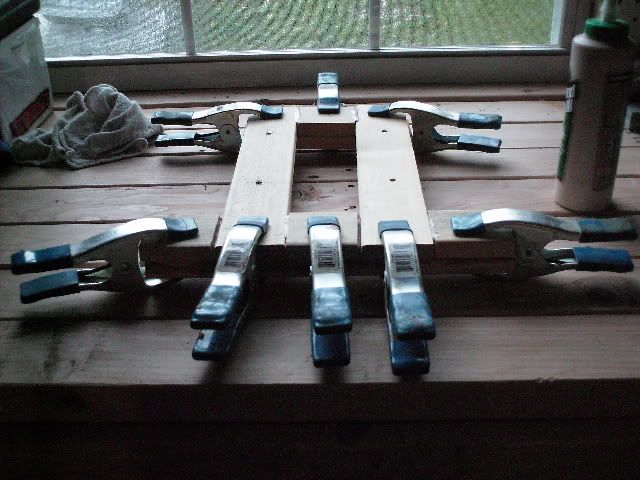
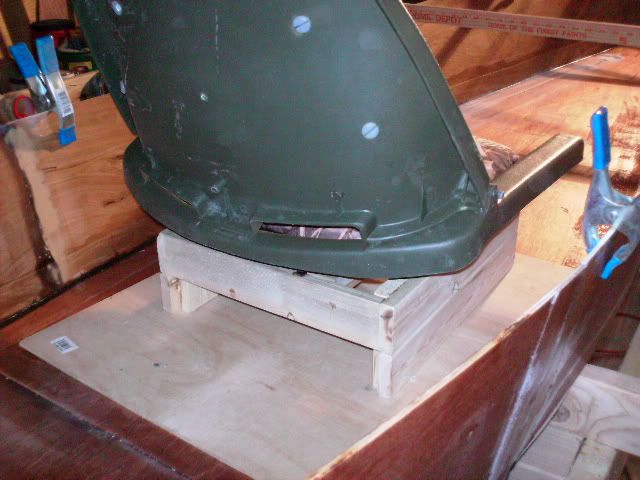
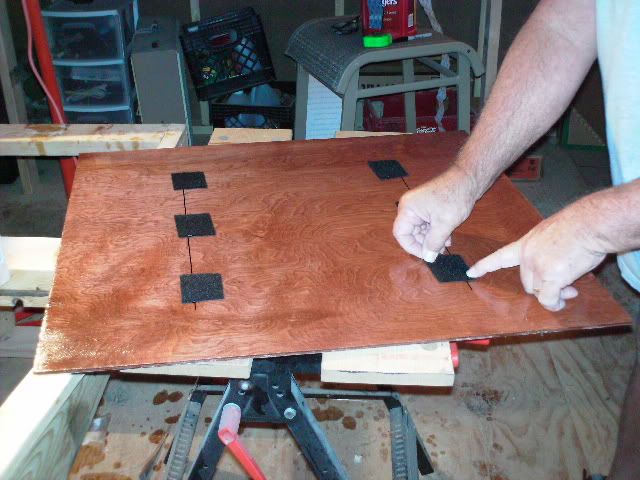
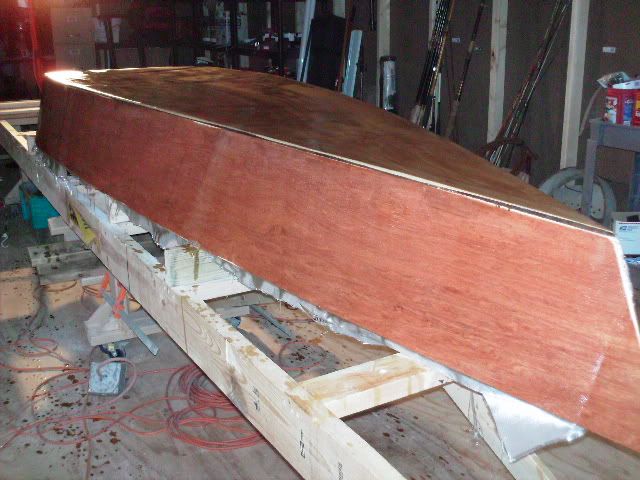
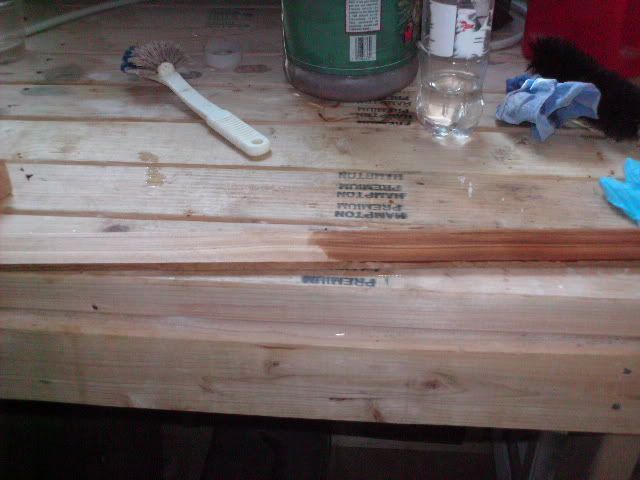
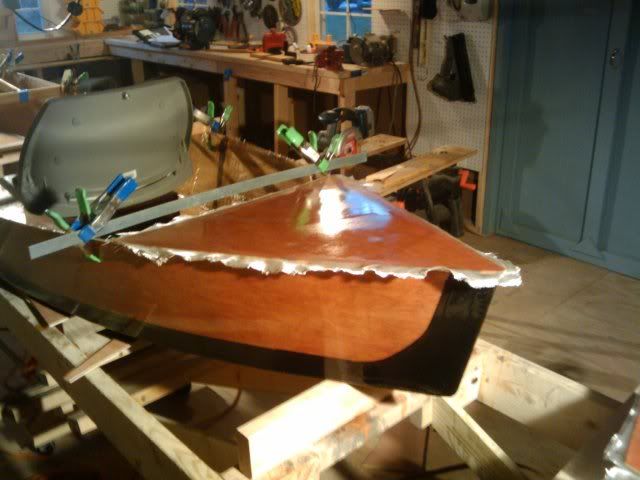
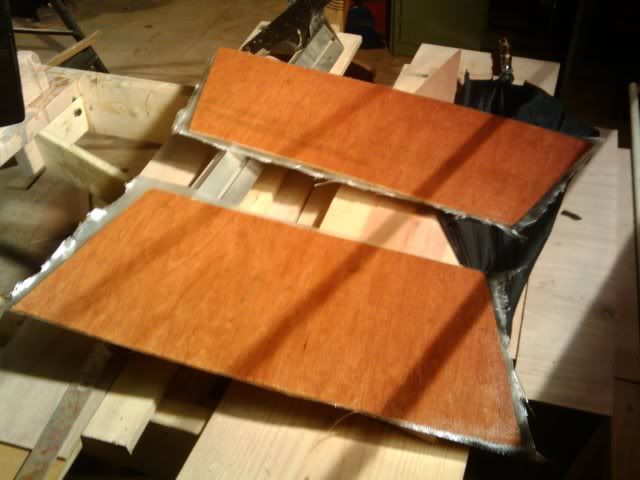
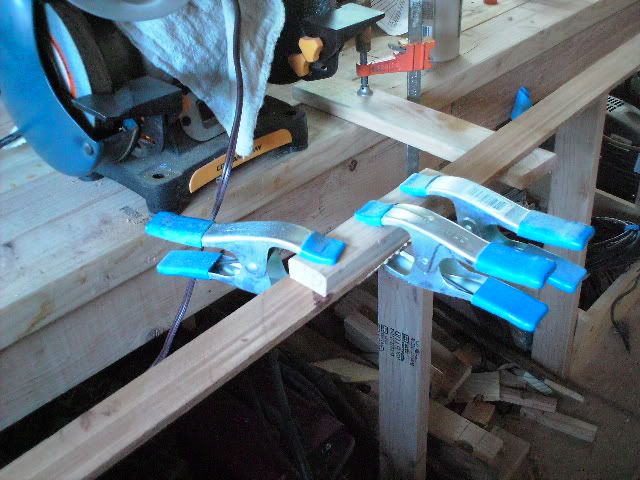
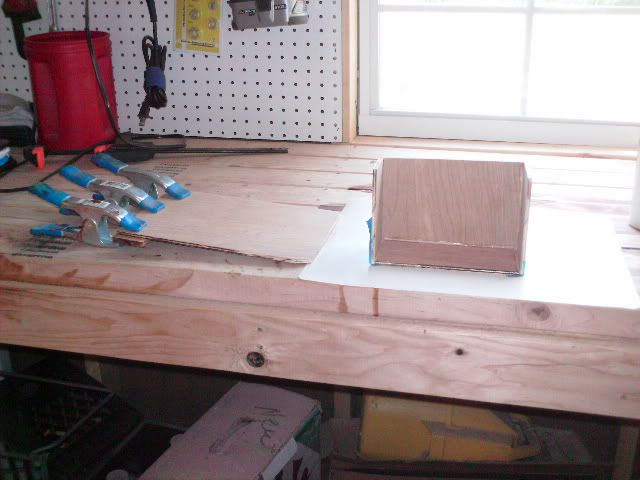
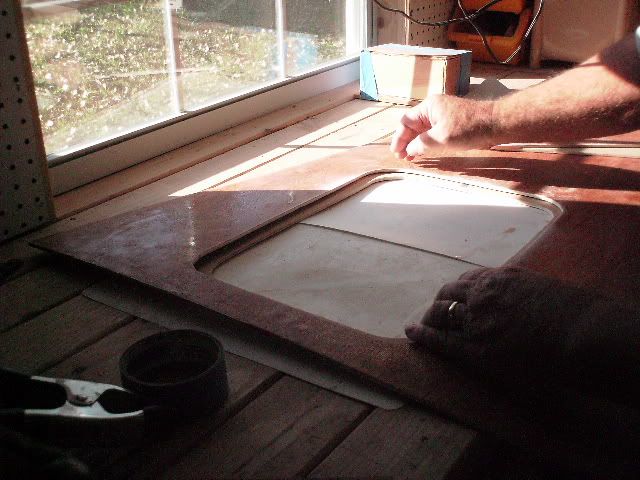
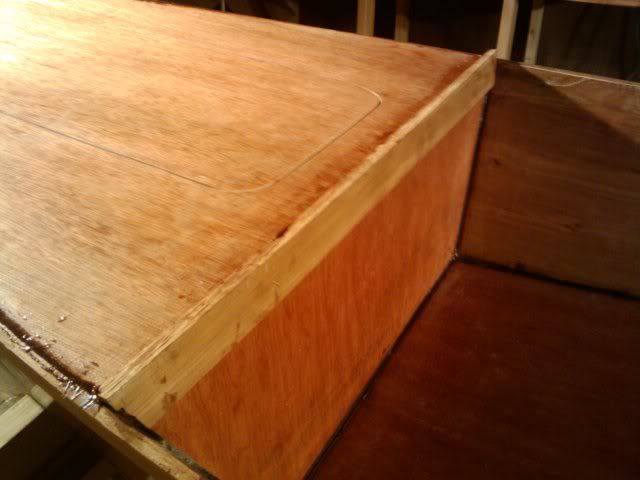
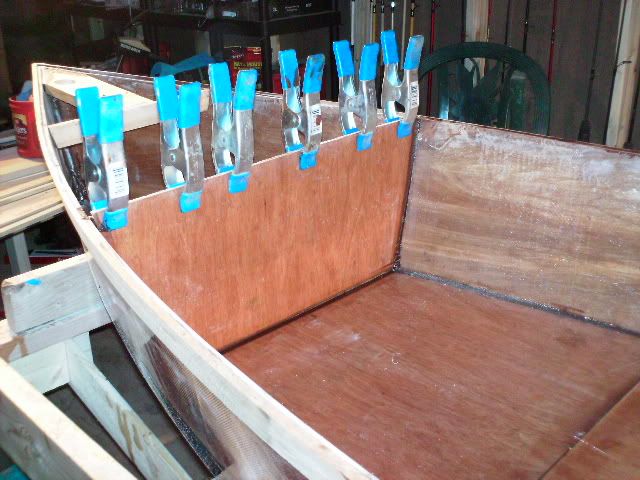
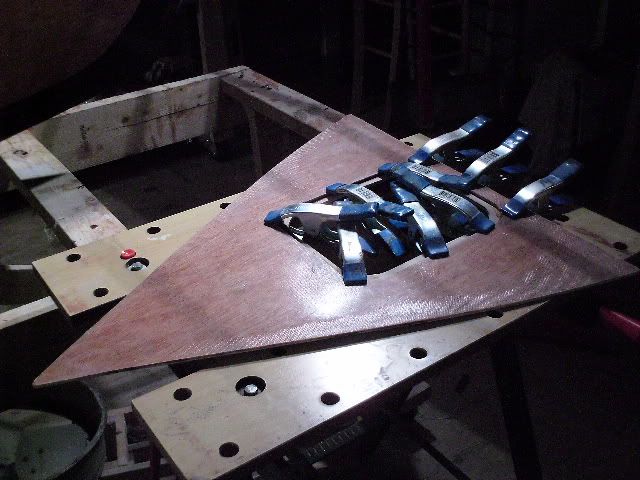
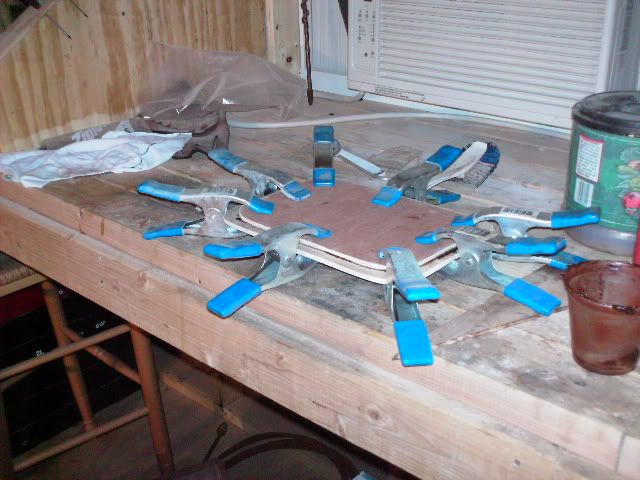
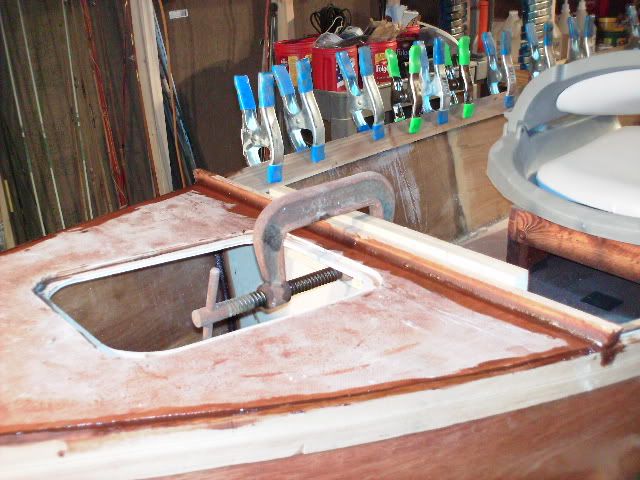
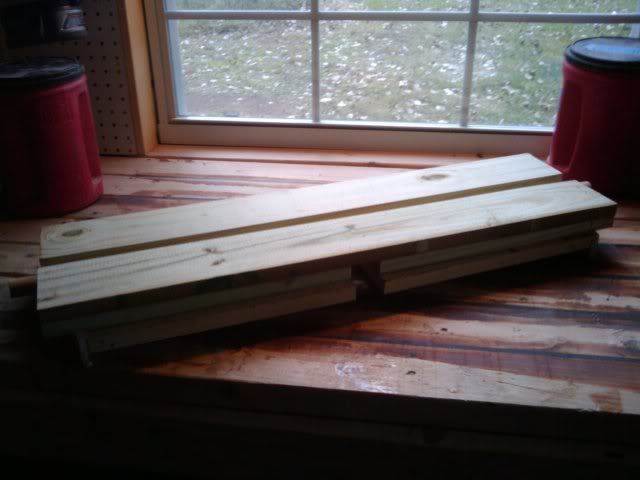
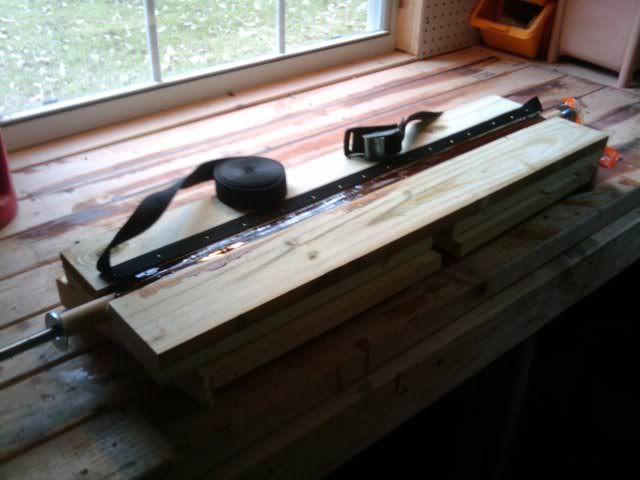
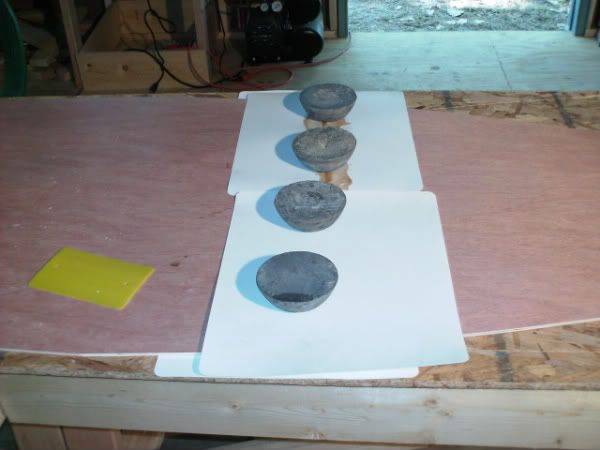
I use these plastic cutting boards to keep joints smooth. I just apply a very thin film of Vaseline on the side to be exposed to resin and it works like a charm. I tried plastic sheeting and ended up with wrinkles, the cutting boards stop that.
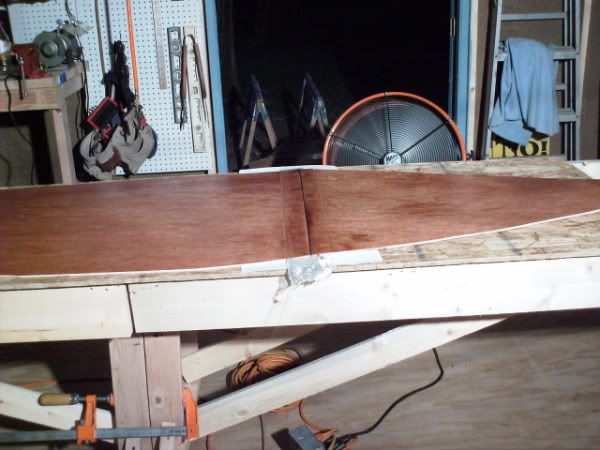
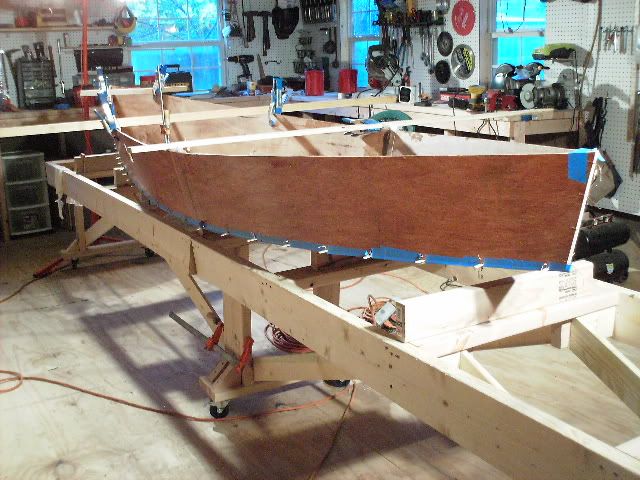
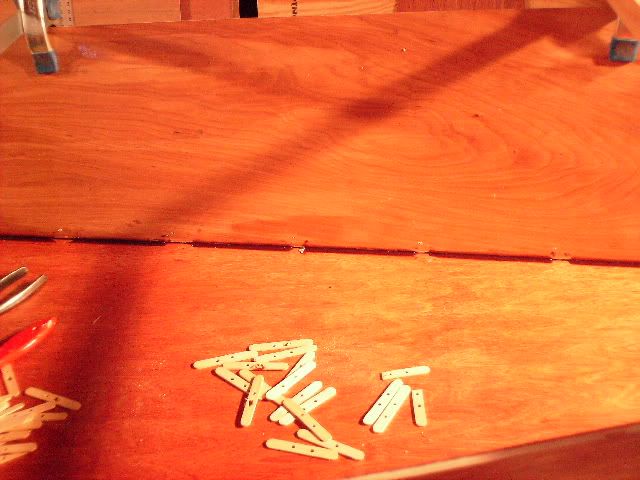
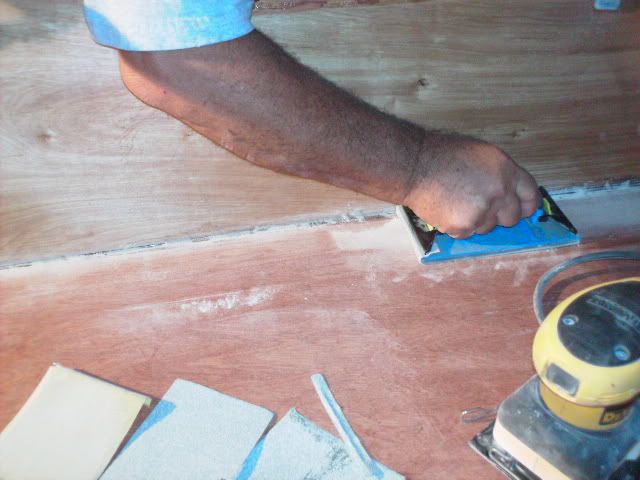
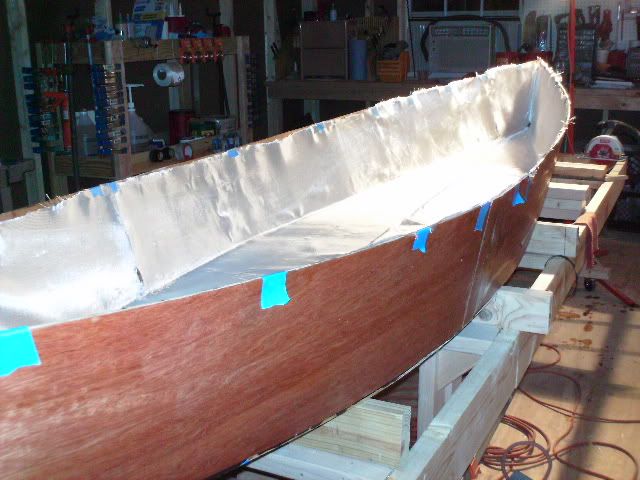
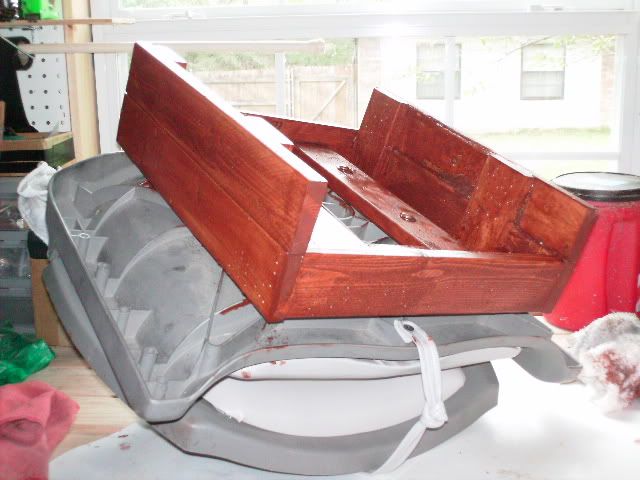
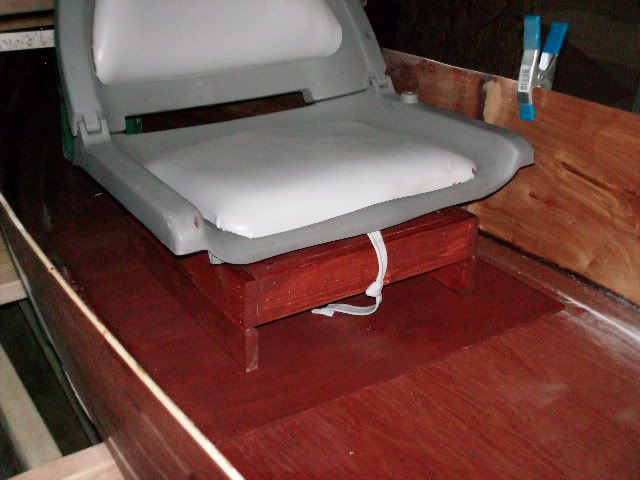
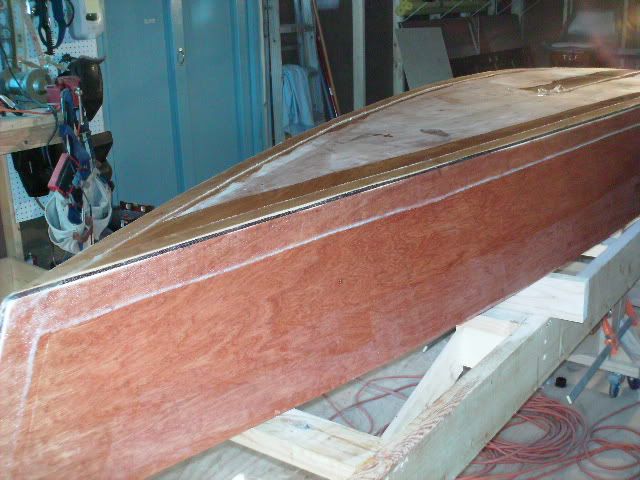
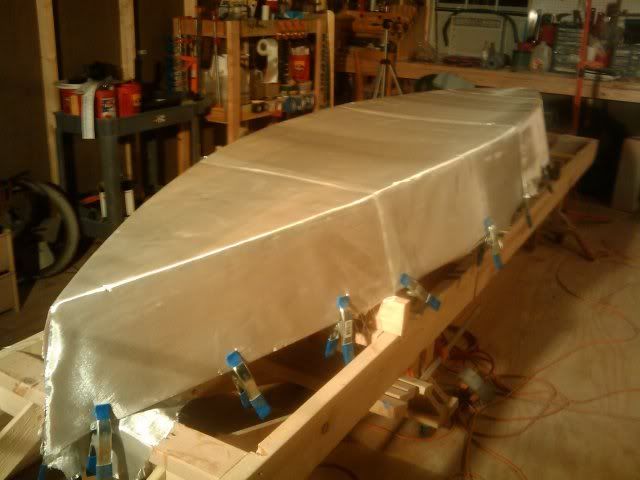
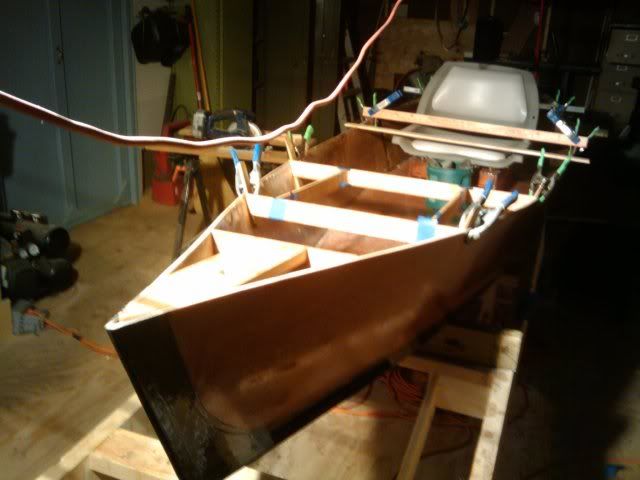
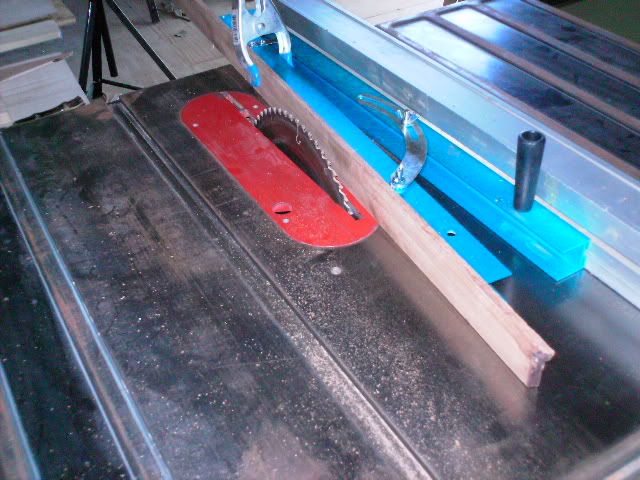
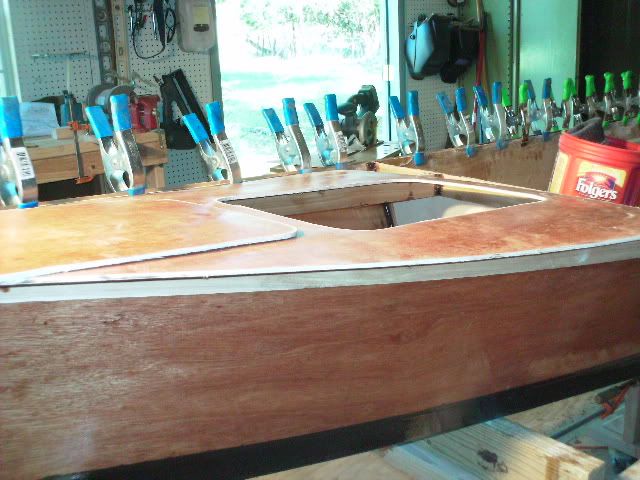
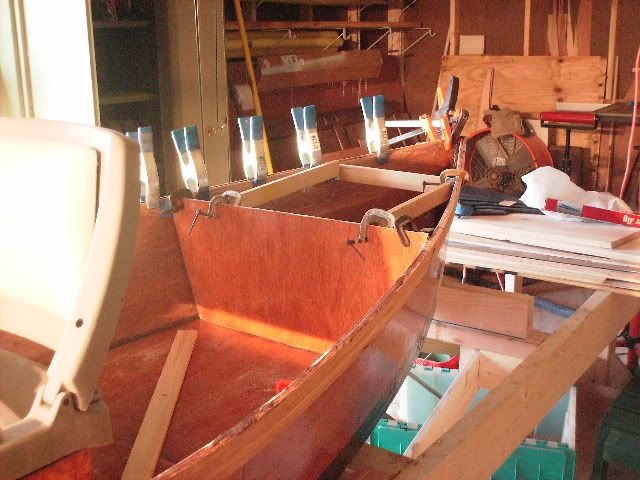
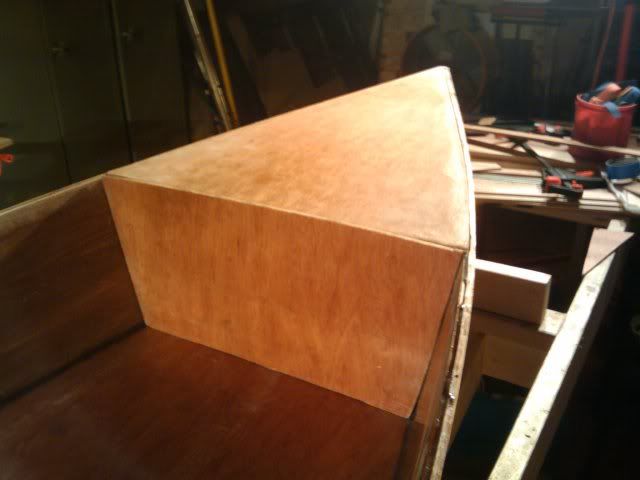
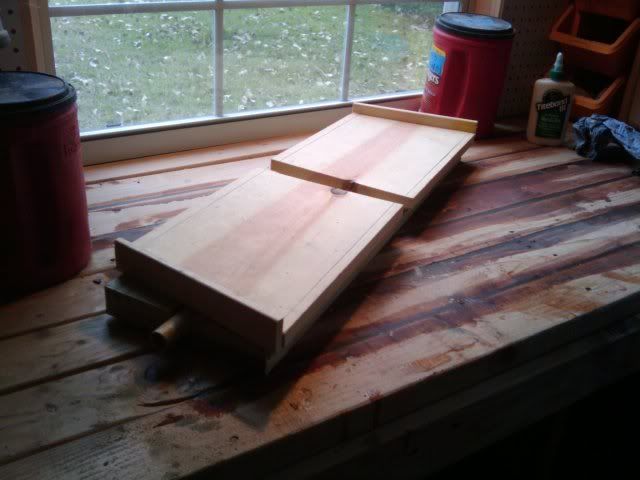
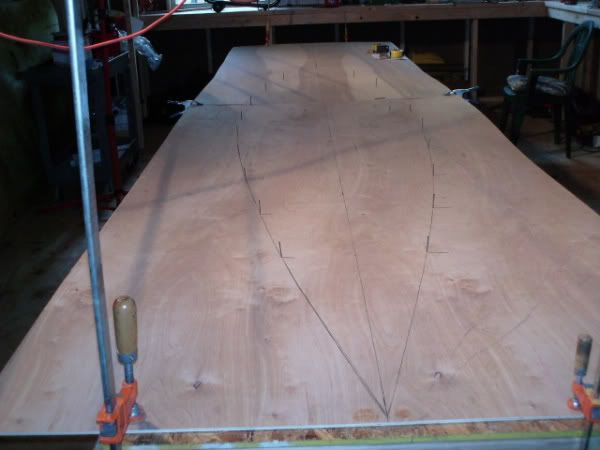
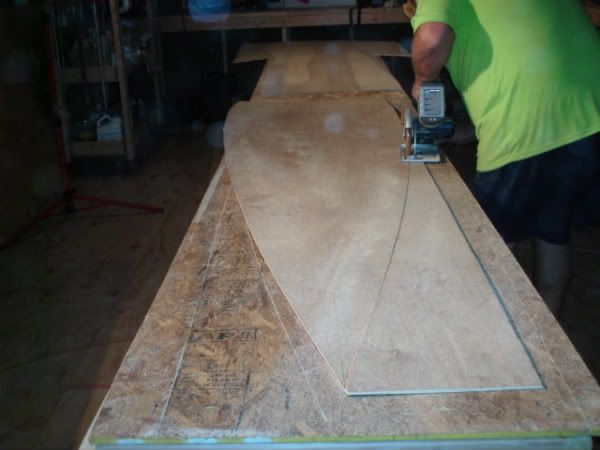
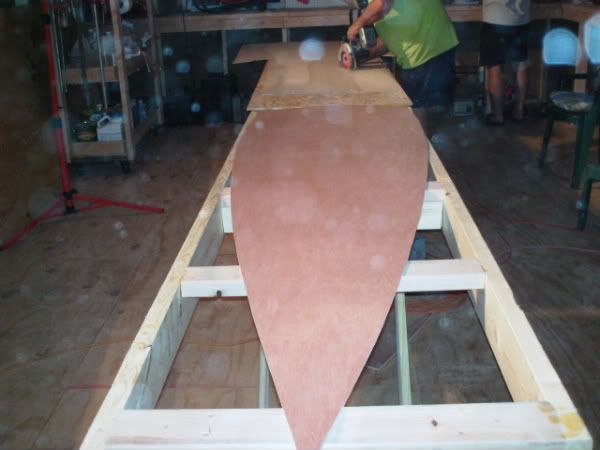
So far so good.
Well we collaberated and came up with this design, now my challenge is, "can I build it to look like this?" And, "will it float?"
First comes the measuring, marking and laying out. Egad! All the measurements work out first try!
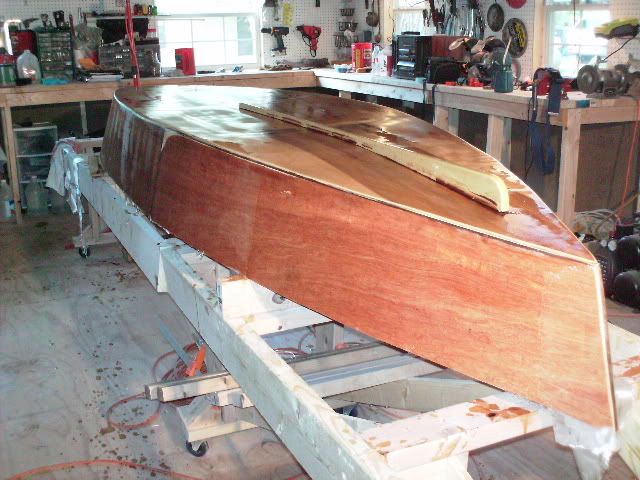
I use these plastic cutting boards to keep joints smooth. I just apply a very thin film of Vaseline on the side to be exposed to resin and it works like a charm. I tried plastic sheeting and ended up with wrinkles, the cutting boards stop that.
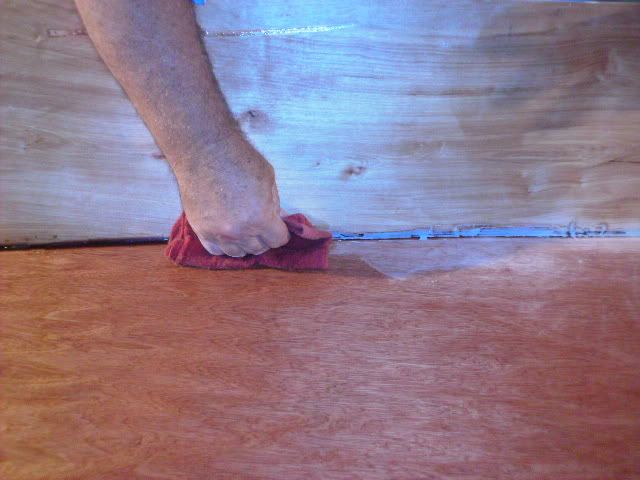
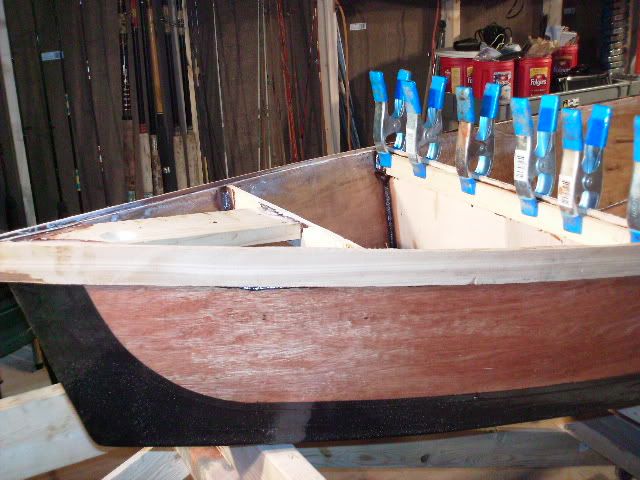
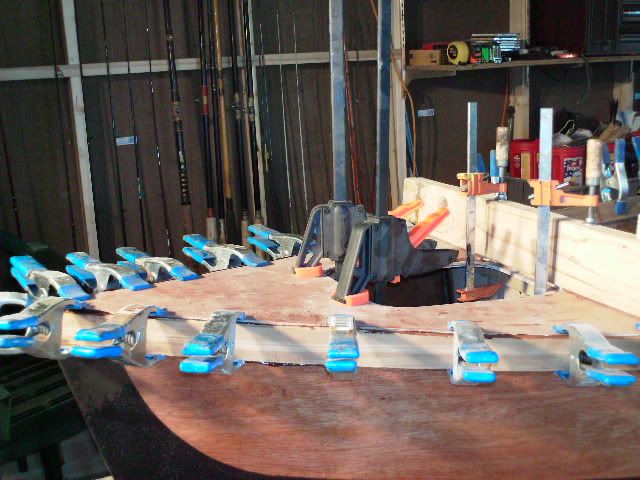
So far so good.