I really like that term, "by hand and by eye". I hope I'm using it properly here, l
I don't take it to mean no power tools or measurements. Just that I'm not following any plans or drawings. Oh, in the beginning I thought I would, but along with Cheap Canoe and the LSU plans, I found this and a few other forums that quickly taught me that there's much more to boatbuilding than following plans. Keith and seedtick's work in particular is really inspirational. Building a model out of poster board first really got me to understand better how side flare and the shape of the side panel's bottom edge affect rocker, and showed me that I needed to cut 1 inch less of an arc on those side panels than what my best guess produced. After that I started making sawdust.
This build really began last June, but computer failure kept me from posting this and other problems delayed the work big time. Heck, there's mold growing on the wood and I don't even have a hull yet! Glad this one's getting painted.
Okay, so what I want is something about halfway between the swamp pirogue and the marsh pirogue. Perhaps I could call it a creek pirogue? 30 degree flare, 2 inch rocker, and 14 ft. in length with a 26 inch maximum bottom width and not too high at bow and stern so the wind won't turn it so easy. All on a budget of 100 bucks so epoxy and glass are out of the picture this time around.
Home Depot helped me out a little, the cashier asked if I found everything I needed. I said, "no, you don't have the spruce 2x6 that your website says you have, so I have to build my boat with this whitewood crap that will rot in a year or two". She took 25% off my entire total, which was for all materials except paint.")
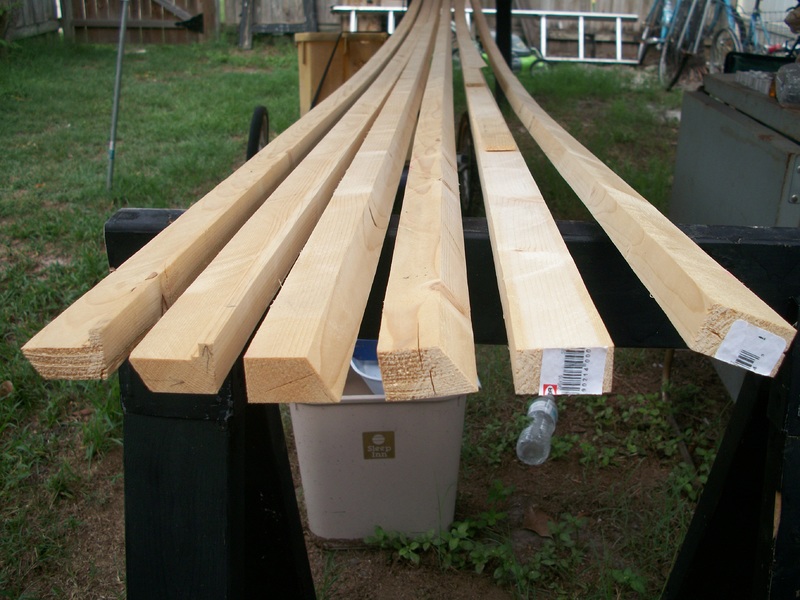
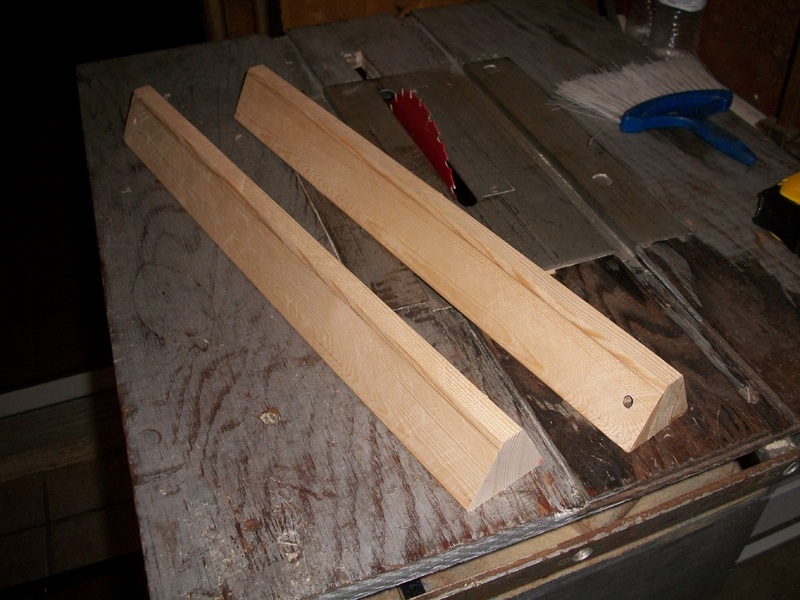
I started out ripping up the 2x6 for chines and gunnels
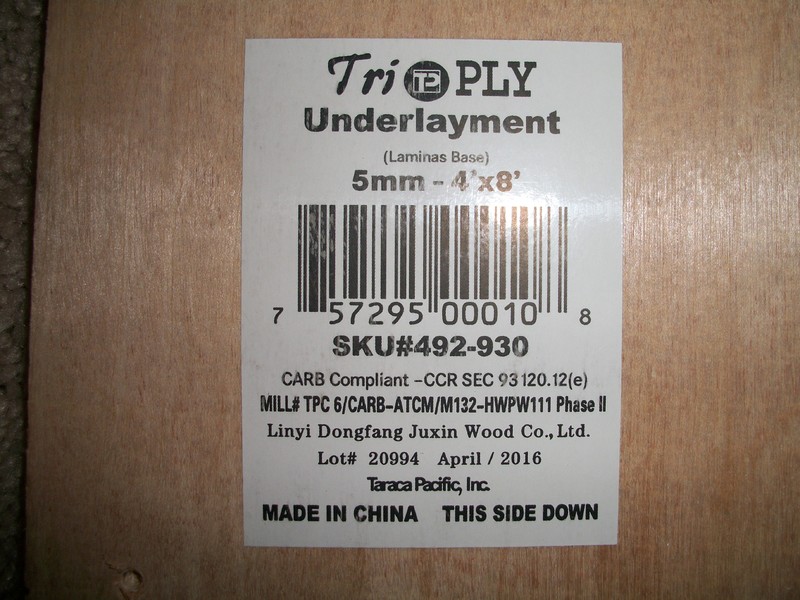
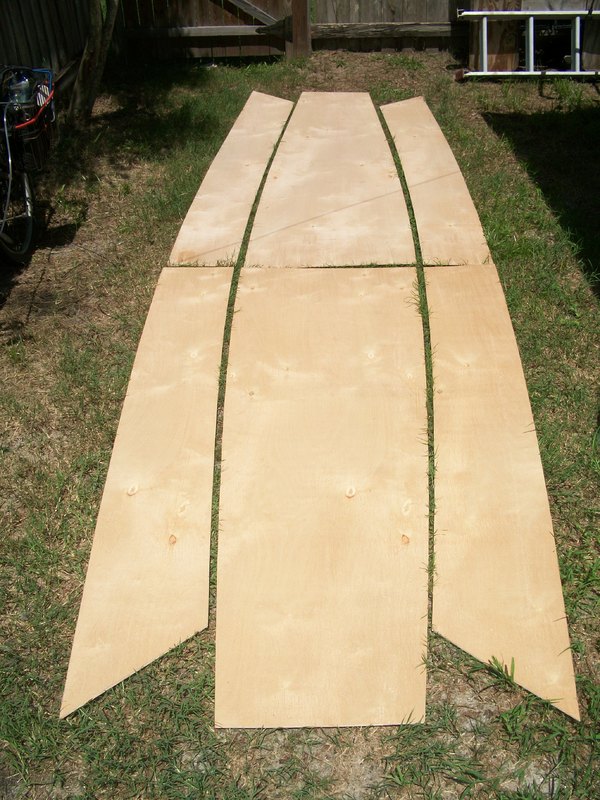
Next came marking out and cutting the " plywood"
I'll try to describe the marking part. First screwed the butted panels to blocks on each edge, right where the gunnels will cover the holes. Measured 14' 6" and cut the other 18" off the end. Drew full length lines 10 3/4" from the sides. Marked a center line 7'3" form the end. Drove screws at the two points where the lines intersect. Went to each end and made marks on the 4ft. edge at 4" and at 15 3/4" from each corner. Laid one of the chines against one of the screws as a batten and arced it so I could clamp the ends down right at the 15 3/4 mark, and marked along the batten for the bottom side panel cut. Then clamped the same batten in the center even with the edge of the ply, and moved the ends down to the 4" marks and clamped there to mark the gunnel edge of the sides. Lastly I marked the angled ends where the stems go but can't remember exact measurements. I think it's a 40° angle.
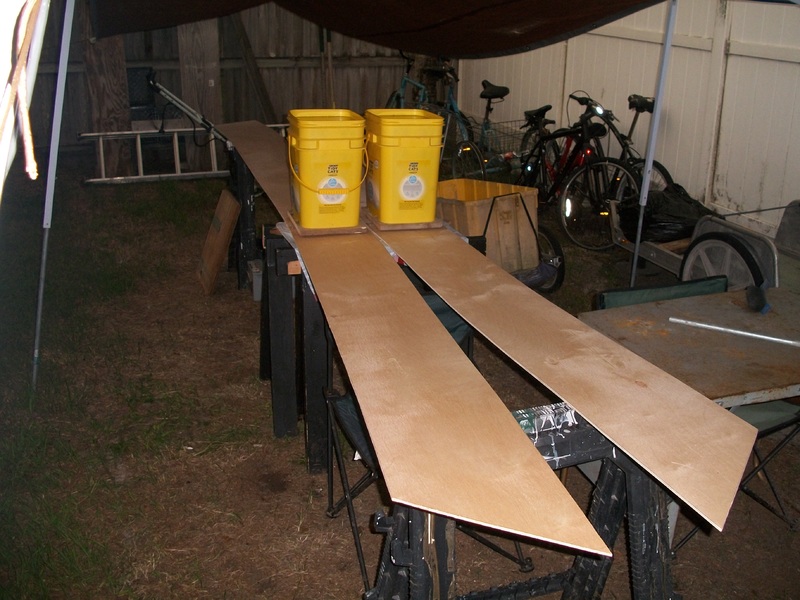
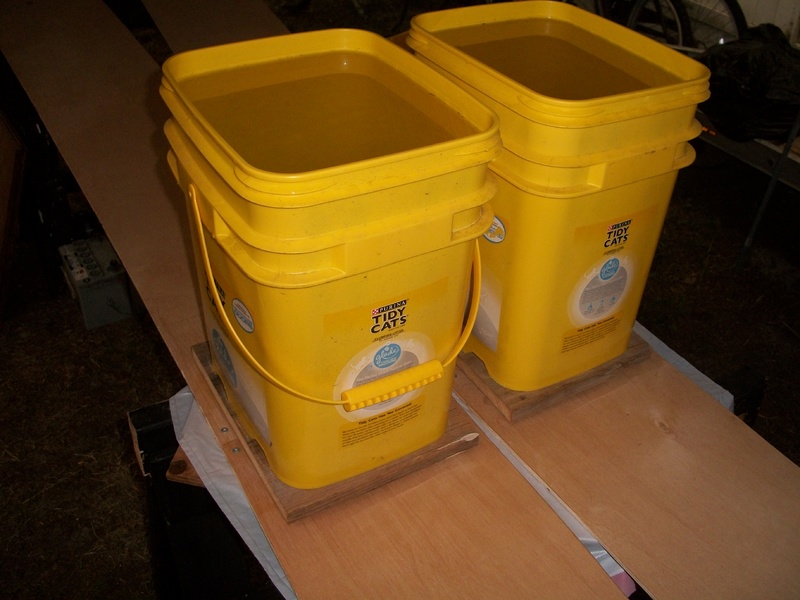
Next came butt-splicing the side panels
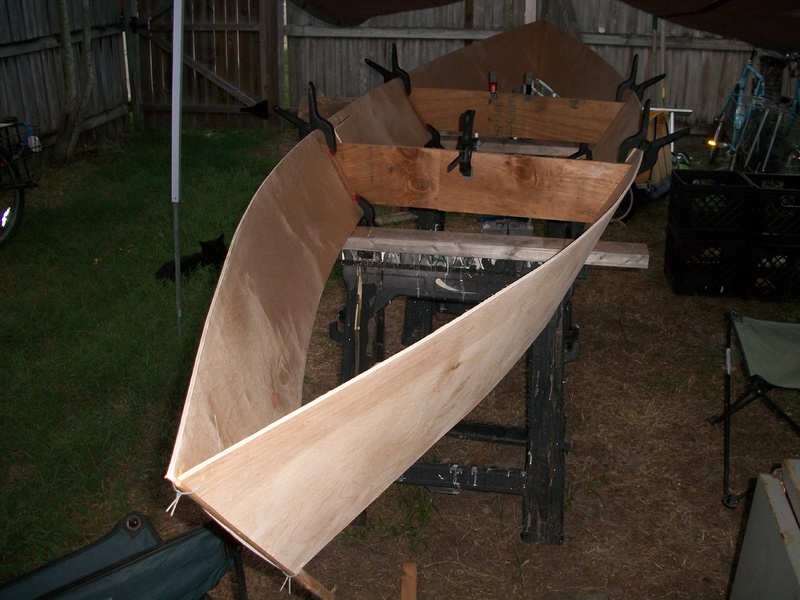
Putting the sides together and setting up forms
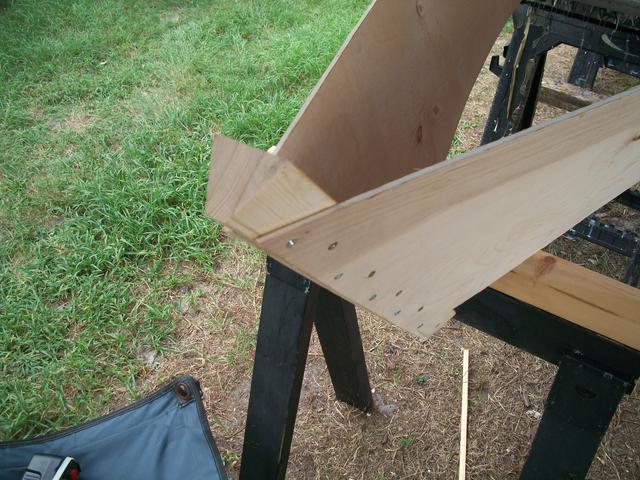
Cutting stems, made of laminated bed slats
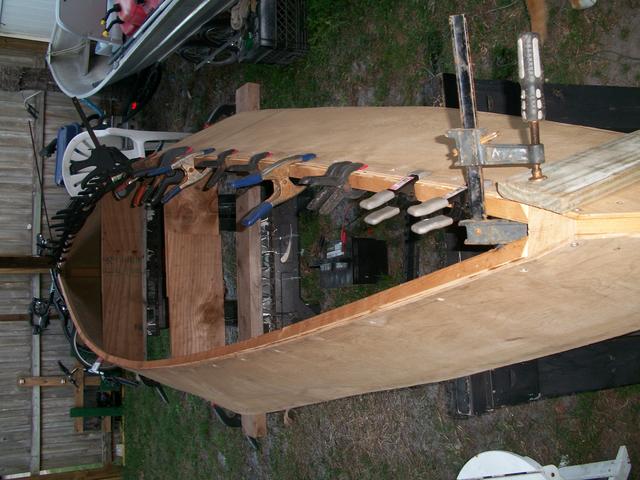
First stem is in
Then 35 days or so of seeing rain like this whenever I want to work on it. During that time my computer died
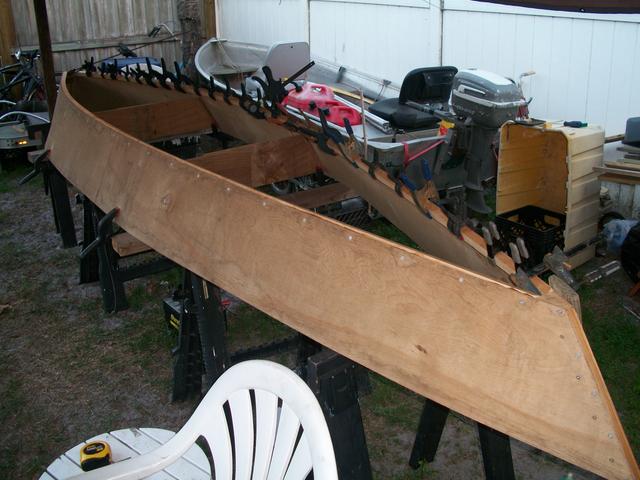
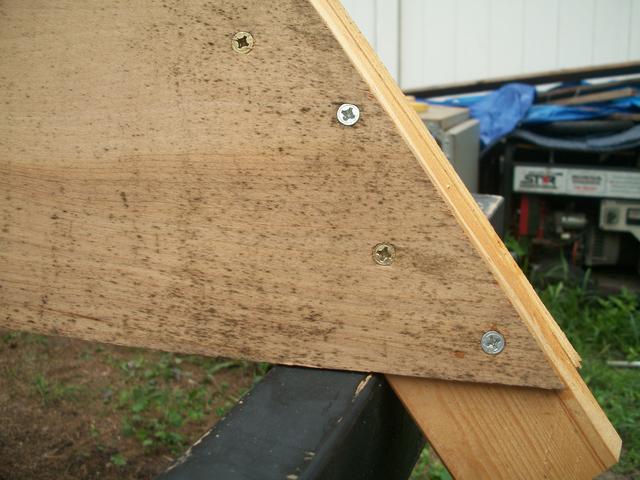
After that I got the other stem in and flipped it over, but look at that poor wood
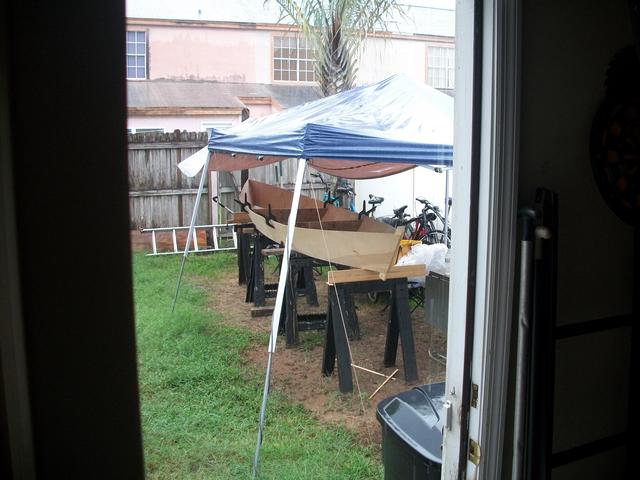
Then a storm took the canopy/tarp away and I gave up for the summer and brought the wobbling wood into my back room for protection, which is actually a walled off patio. It was just too hot and wet out there with no rain and sun protection. With the rains, 'canes, and other issues, that was the end of it for 2017.
I don't take it to mean no power tools or measurements. Just that I'm not following any plans or drawings. Oh, in the beginning I thought I would, but along with Cheap Canoe and the LSU plans, I found this and a few other forums that quickly taught me that there's much more to boatbuilding than following plans. Keith and seedtick's work in particular is really inspirational. Building a model out of poster board first really got me to understand better how side flare and the shape of the side panel's bottom edge affect rocker, and showed me that I needed to cut 1 inch less of an arc on those side panels than what my best guess produced. After that I started making sawdust.
This build really began last June, but computer failure kept me from posting this and other problems delayed the work big time. Heck, there's mold growing on the wood and I don't even have a hull yet! Glad this one's getting painted.
Okay, so what I want is something about halfway between the swamp pirogue and the marsh pirogue. Perhaps I could call it a creek pirogue? 30 degree flare, 2 inch rocker, and 14 ft. in length with a 26 inch maximum bottom width and not too high at bow and stern so the wind won't turn it so easy. All on a budget of 100 bucks so epoxy and glass are out of the picture this time around.
Home Depot helped me out a little, the cashier asked if I found everything I needed. I said, "no, you don't have the spruce 2x6 that your website says you have, so I have to build my boat with this whitewood crap that will rot in a year or two". She took 25% off my entire total, which was for all materials except paint.
I started out ripping up the 2x6 for chines and gunnels
Next came marking out and cutting the " plywood"
I'll try to describe the marking part. First screwed the butted panels to blocks on each edge, right where the gunnels will cover the holes. Measured 14' 6" and cut the other 18" off the end. Drew full length lines 10 3/4" from the sides. Marked a center line 7'3" form the end. Drove screws at the two points where the lines intersect. Went to each end and made marks on the 4ft. edge at 4" and at 15 3/4" from each corner. Laid one of the chines against one of the screws as a batten and arced it so I could clamp the ends down right at the 15 3/4 mark, and marked along the batten for the bottom side panel cut. Then clamped the same batten in the center even with the edge of the ply, and moved the ends down to the 4" marks and clamped there to mark the gunnel edge of the sides. Lastly I marked the angled ends where the stems go but can't remember exact measurements. I think it's a 40° angle.
Next came butt-splicing the side panels
Putting the sides together and setting up forms
Cutting stems, made of laminated bed slats
First stem is in
Then 35 days or so of seeing rain like this whenever I want to work on it. During that time my computer died
After that I got the other stem in and flipped it over, but look at that poor wood
Then a storm took the canopy/tarp away and I gave up for the summer and brought the wobbling wood into my back room for protection, which is actually a walled off patio. It was just too hot and wet out there with no rain and sun protection. With the rains, 'canes, and other issues, that was the end of it for 2017.
Last edited: