
JEM TV 12 32 Build
First of all thanks for posting your SS&G builds, they gave me the confidence and know how to get started. Also I appreciate the great replies to my specific questions as I was getting started. Several of the techniques I will try to picture are already somewhere in this forum, if they work good for me, I will pass them on again to make them easier for newcomers to find. If any of you see something wrong or I’m doing something the hard way, please let me know.
I started out by cutting my basic templates out of Luan. At least two of you had suggested using OSB or MDF templates if the router was to be used for final cut out of the strip panels. That’s good advice; my practice router cuts on Luan went real good until the bearing slipped over the 5 mm luan. I won’t try the router method on the cedar strip panels using the luan templates. I do think the router would work good with thicker templates, I used it some to cut out templates along the batten. I did discover that 7/16 OSB at Home Depot is NOT a full 4’ X 8’.
Finally working on an inside table! Looks a lot like Jacks suggestions!
Bottom template.
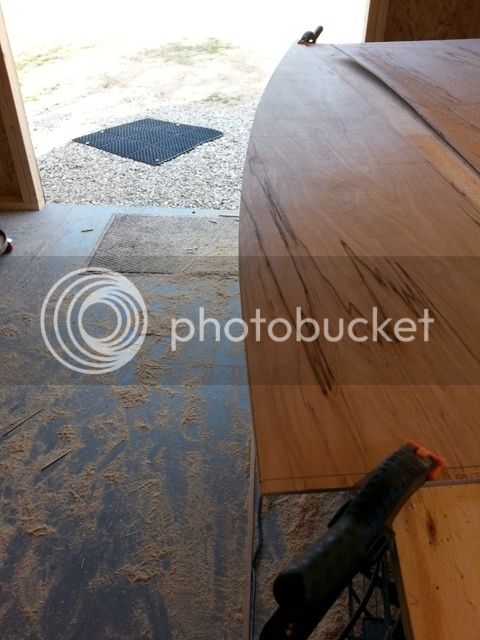
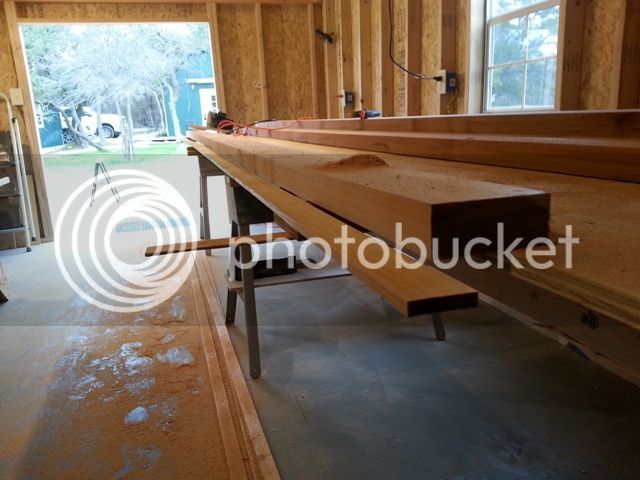
I used a 5/16” board to set the “fence” on the rip jig for my skill saw. This picture of the bottom is the second jig ½”ply, the first was made of 3/4 “ ply. It worked good practicing on a pine 2x4 but the blade wouldn’t reach deep enough when I changed plans to 2x 6 rough cut. The plan for lumber was 8’ 2x6, but I happened on 2, 2x6 x 14’ rough cut boards. They made 30, .31” strips, enough for the basic boat. I screwed some sacrificial support to the underside of my table to help support the 2x 6 off the edge. Then probably went overboard when I drilled the 2x 6 and fastened it to the table with a finish nail in the corner at each end—but it was stable.
I had two surprises with the ripping. First even though the blade edge was 5/16 from the fence, the cut off strips were about .02” narrower. They were also very slightly wider at the starting end of the board. The starting width didn’t become noticeable until I was about through ripping the 2x6. I’ve experimented on scrap and still haven’t figured out why the strips start out thicker the first 2’ of the rip cut. Anyone else have this problem? Ideas? The planner will take care of the variation.
Skill saw jig

Ripping set up
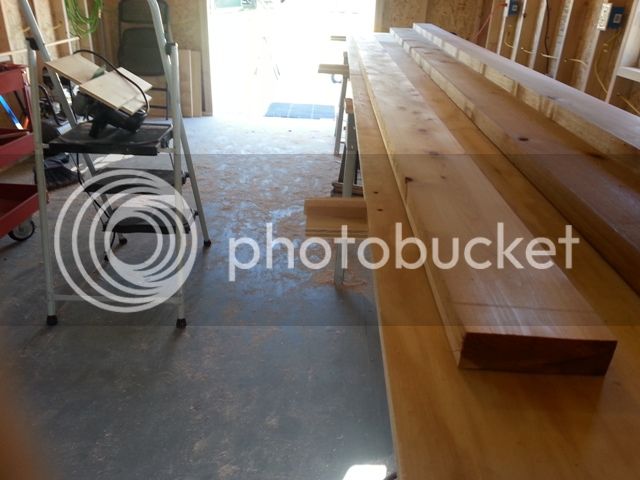
Ripping
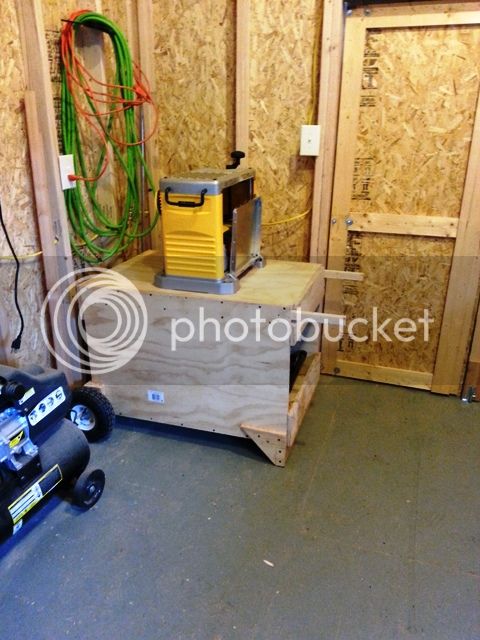
The new DW 734 planner, Works great. I had to build a cart out of scrap to wheel it in and out of the shed. My trusty $10 digital caliper from Harbor freight has been good enough to keep track of strip widths as I cut and practiced planning. Ron is right start with wider strips than you need.
Harbor Freight Special
DW 734
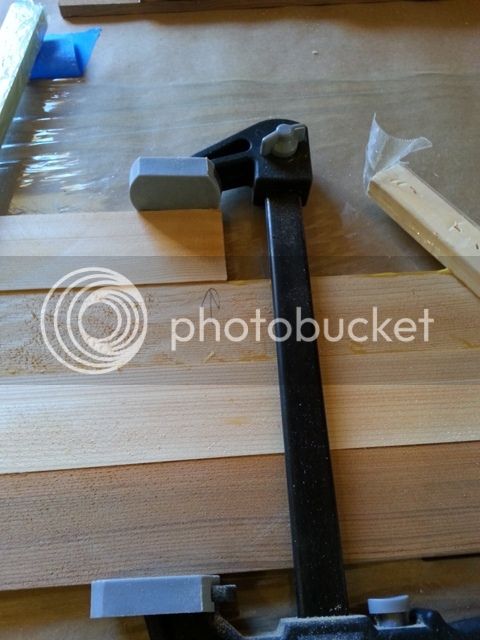
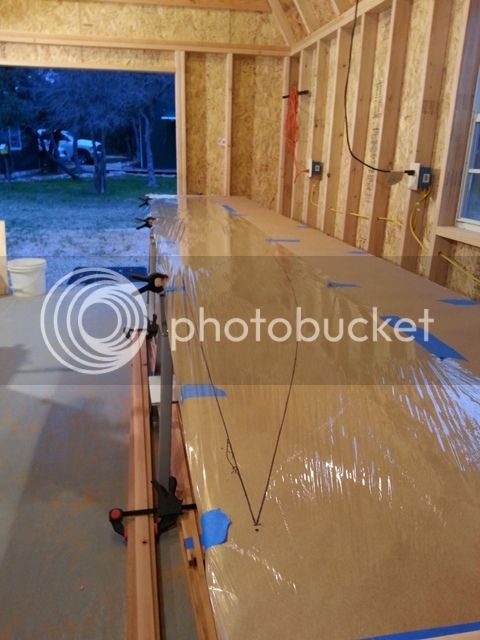
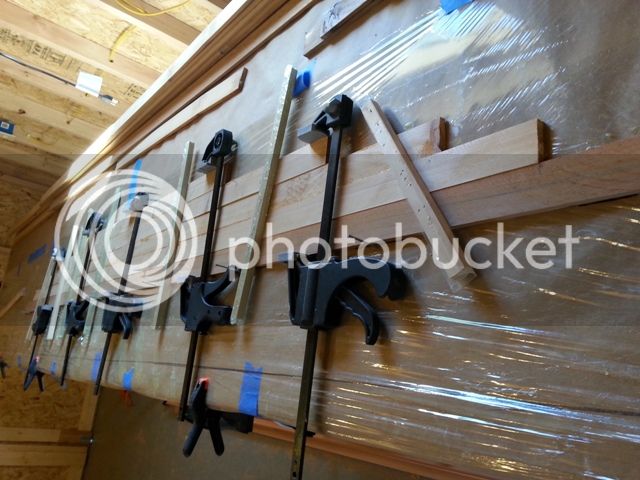
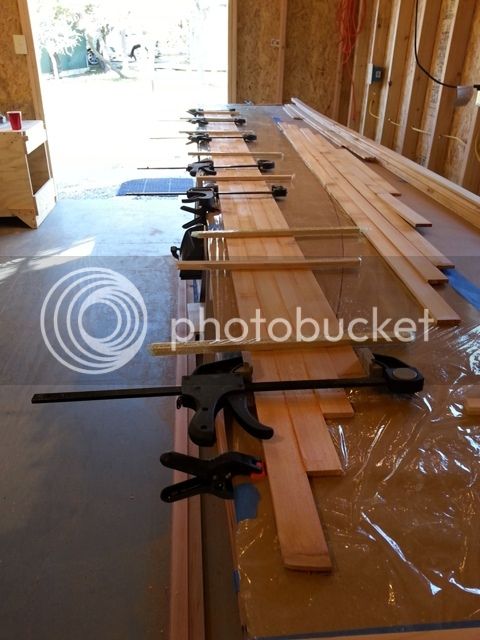
Gluing the bottom panels in two pieces so they will be narrow enough go through the planer. I didn’t plane these before gluing, because I thought I’d save a step. I think I will plane the side strips down some to make clamping more uniform. Any of you have opinions about planning some thickness down before gluing?
Bottom tracing
Gluing Bottom inside
Gluing Bottom outside
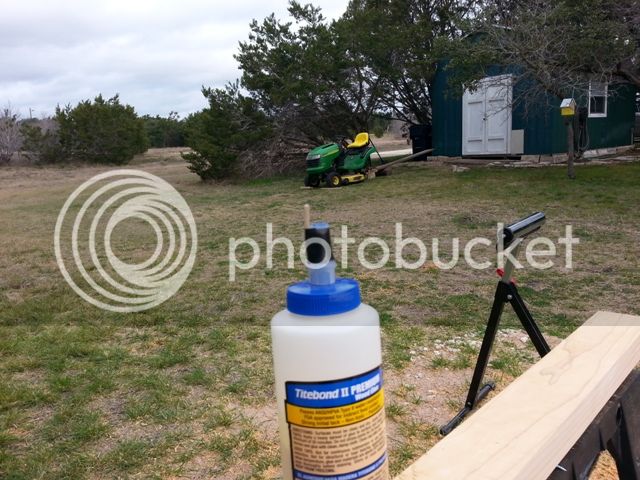
Glue Bottle guide works good
More when there’s progress. Looks like tomorrow will be too cold for glue.
Good Fish’n
Andy
First of all thanks for posting your SS&G builds, they gave me the confidence and know how to get started. Also I appreciate the great replies to my specific questions as I was getting started. Several of the techniques I will try to picture are already somewhere in this forum, if they work good for me, I will pass them on again to make them easier for newcomers to find. If any of you see something wrong or I’m doing something the hard way, please let me know.
I started out by cutting my basic templates out of Luan. At least two of you had suggested using OSB or MDF templates if the router was to be used for final cut out of the strip panels. That’s good advice; my practice router cuts on Luan went real good until the bearing slipped over the 5 mm luan. I won’t try the router method on the cedar strip panels using the luan templates. I do think the router would work good with thicker templates, I used it some to cut out templates along the batten. I did discover that 7/16 OSB at Home Depot is NOT a full 4’ X 8’.
Finally working on an inside table! Looks a lot like Jacks suggestions!
Bottom template.

I used a 5/16” board to set the “fence” on the rip jig for my skill saw. This picture of the bottom is the second jig ½”ply, the first was made of 3/4 “ ply. It worked good practicing on a pine 2x4 but the blade wouldn’t reach deep enough when I changed plans to 2x 6 rough cut. The plan for lumber was 8’ 2x6, but I happened on 2, 2x6 x 14’ rough cut boards. They made 30, .31” strips, enough for the basic boat. I screwed some sacrificial support to the underside of my table to help support the 2x 6 off the edge. Then probably went overboard when I drilled the 2x 6 and fastened it to the table with a finish nail in the corner at each end—but it was stable.
I had two surprises with the ripping. First even though the blade edge was 5/16 from the fence, the cut off strips were about .02” narrower. They were also very slightly wider at the starting end of the board. The starting width didn’t become noticeable until I was about through ripping the 2x6. I’ve experimented on scrap and still haven’t figured out why the strips start out thicker the first 2’ of the rip cut. Anyone else have this problem? Ideas? The planner will take care of the variation.
Skill saw jig

Ripping set up

Ripping

The new DW 734 planner, Works great. I had to build a cart out of scrap to wheel it in and out of the shed. My trusty $10 digital caliper from Harbor freight has been good enough to keep track of strip widths as I cut and practiced planning. Ron is right start with wider strips than you need.
Harbor Freight Special

DW 734

Gluing the bottom panels in two pieces so they will be narrow enough go through the planer. I didn’t plane these before gluing, because I thought I’d save a step. I think I will plane the side strips down some to make clamping more uniform. Any of you have opinions about planning some thickness down before gluing?
Bottom tracing

Gluing Bottom inside

Gluing Bottom outside

Glue Bottle guide works good

More when there’s progress. Looks like tomorrow will be too cold for glue.
Good Fish’n
Andy


