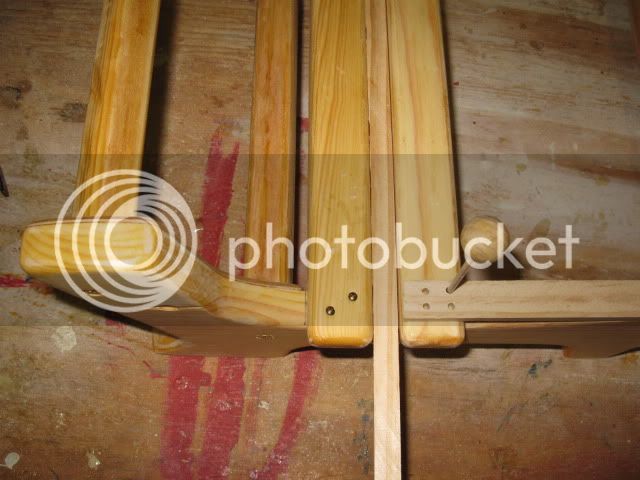
Another first time builder... | Page 6 | SouthernPaddler.com

Another first time builder...

bluegrasslover

Well-Known Member
Feb 18, 2009
202
0
54
Willow Springs, NC
oldsparkey said:
If you will drill some holes in the slats , slightly smaller then the brads you are going to use the slats will not split , but I'm sure you know that.
I also put a little epoxy under mine , just to make sure they stay in place later down the river. :wink:

Chuck.

Just don't do like I did...I was working on the seat slats and got my measurements all nice for the nail pilot holes then proceeded to drill all of said pilot holes. Once I start putting it together I realize that I had also put the pilot holes in the back rest slats which, of course, are not in the same place as the seat slats. I had to patch those holes. :oops:
 

rpecot

Well-Known Member
Nov 10, 2006
406
0
Katy, TX
Finished the seat today. Just need to varnish it. I didn't square up the base very well, so the back rest has a little slant to it. Had to lop off 1/2" on one of the back rest supports. Not too noticeable. I'll put up some pics later. Now back to the boat...
 

beekeeper

Well-Known Member
Mar 4, 2009
1,917
59
rpecot very nice seat. My grand kids like mine for sitting in the floor watching cartoons. First thing my grandson said when he climbed in the boat was "Is this my seat?". I've got two more cut out to be finished.

bluegrasslover I caught myself fixing to make the same mistake. Decided to drill holes as I nailed the slats. I also made two hole location marking templates, I guess you would call them, that help:

IMG_0431.jpg


IMG_0428.jpg


I posted these pictures befor, but thought they might be helpful here.

beekeeper
 

rpecot

Well-Known Member
Nov 10, 2006
406
0
Katy, TX
I happened to have some stainless steel trim-head screws left over from another project. Used those instead of brads. Lots of pilot holes to drill :roll:
 

rpecot

Well-Known Member
Nov 10, 2006
406
0
Katy, TX
Had to give a test drive before I started on the interior glasswork:


Laying in the glass to let it relax. Hope to wet it out tomorrow, between smoking ribs and a pork loin...


There is a chance I'll finish it before the next rendezvous. :lol:
 

islandpiper

Well-Known Member
Good job, Russ. And, by the looks of the little one on that seat, it's a double.....may need a little bro or sis to share that seat with!!

Seriously, Chuck came up with a GREAT design.....but when i build another one, i'll make the front legs longer and the back legs shorter and get some more "recline" in the back support. My back doesn't complain, really. It's more like my belly won't fit when folded up at 90-degrees.........(dang dutch oven is to blame I think).

piper
 

rpecot

Well-Known Member
Nov 10, 2006
406
0
Katy, TX
seedtick said:
just one more reason to love GRITS - girls raised in tiger stadium
I'm not a Tiger alum, so Mom had to put up with a little bit of protesting from me... but I gotta admit she looks darn cute in that outfit :D
 

rpecot

Well-Known Member
Nov 10, 2006
406
0
Katy, TX
It's that time of year again. About half dozen of these pairs died with a smile on their faces :lol: waiting for the epoxy to dry.
 

rpecot

Well-Known Member
Nov 10, 2006
406
0
Katy, TX
gbinga said:
Encapsulate them so that they don't rot. Consider using some thinner, so that you get good penetration.

GBinGA

I used a slightly different method: Random Orbital Sander, 120 grit. Epoxy to follow. :D
 

rpecot

Well-Known Member
Nov 10, 2006
406
0
Katy, TX
Slow but steady progress. Working on fill coats on the interior. Also, some decks for the ends. Here are a couple pictures:
The blank:

And shaped:

Close enough for me. Epoxy will fill in the gaps, ROS will take care of the rest. :roll: