Another “no plans stitch and glue build”
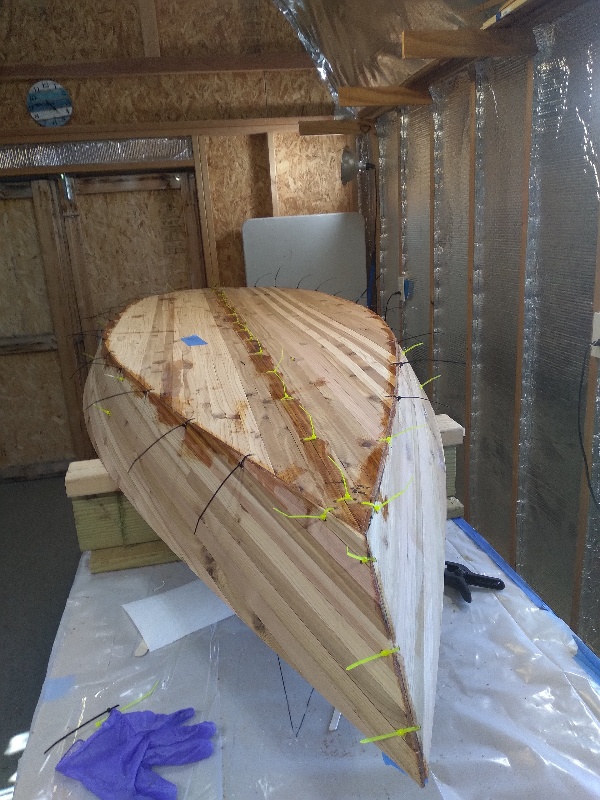
Recall that a while ago, I “copied” a water moccasin pirogue. I built undersized hoping to make it very light weight, it’s lightweight at 14.8#, but just too small, cramped, and tippy for this stiff 77 year old. So this build will attempt to make a boat nearly the same only bigger and more flare.
This SS &G will be different in that the strips will not follow the profile of the boat but will be flat in the panels,the bends on the tumble home of the previous attempt were to severe. I started by lengthening the sides about 14” and increasing the chine “cut back” an inch, that is a more severe rainbow shape. I also drew the sides ½ “ taller in case I later need to increase the cutback.The forms will be about 32 degrese flare with an inverted v bottom.
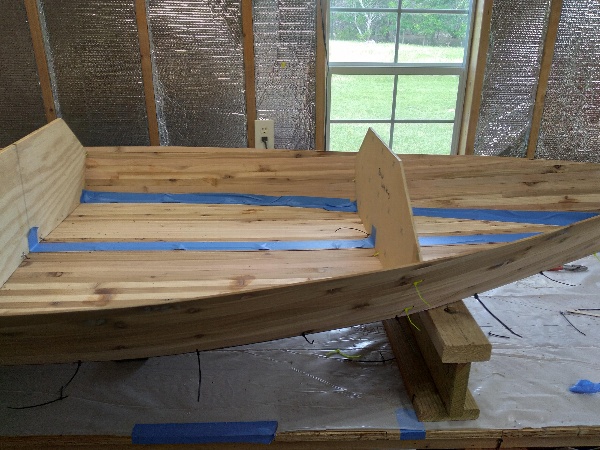
I’m a little braver this time, drew the sides on the glued stripped panels and cut them out. put the center form in and traced the bottom on the plastic covered table. Much easier than making luan patterns to try out.
I got lucky the flare and rocker worked out 2” bow, 1” stern. Thank you Beekeeper and Jdupree for educating me!
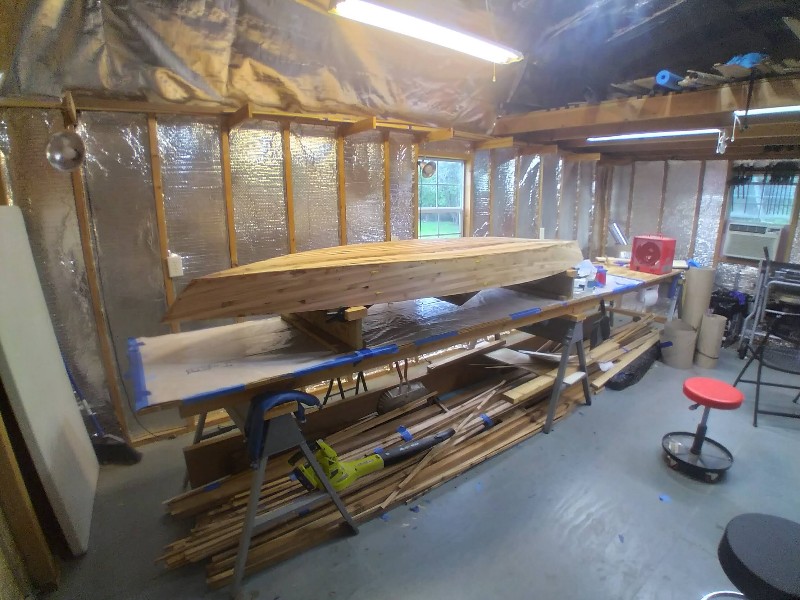
Time to go back out and cut out the bottom, a little oversize at first, don’t want to press my luck!
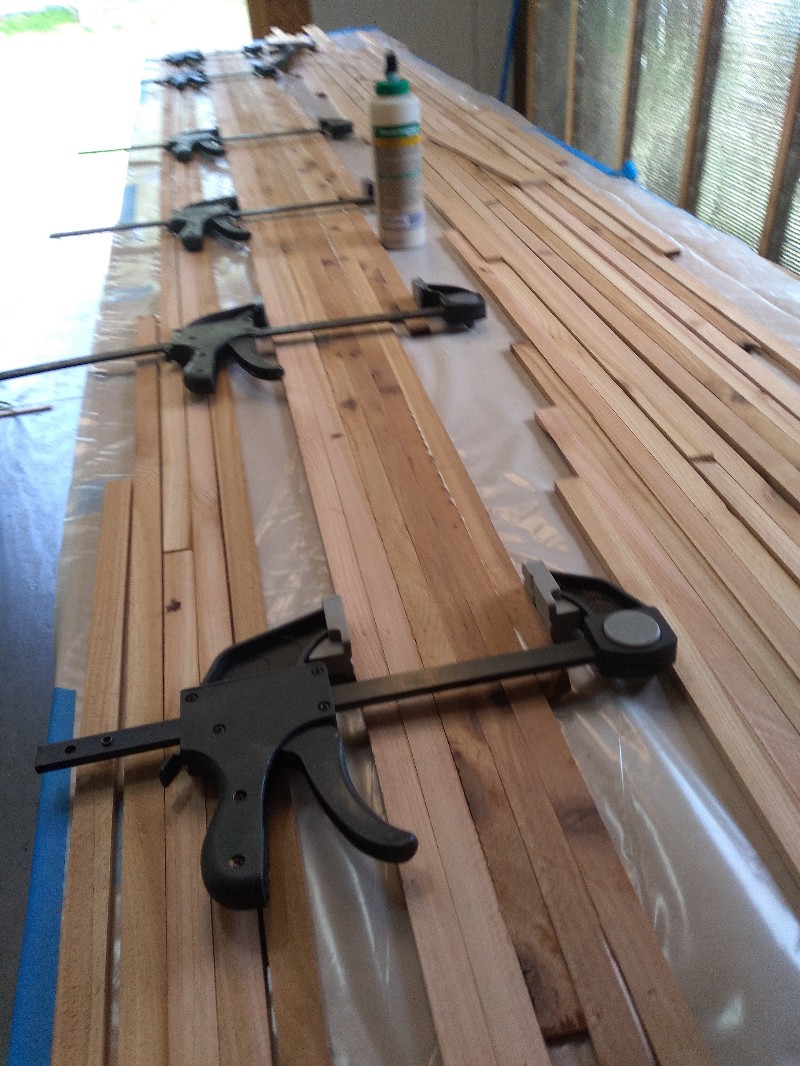
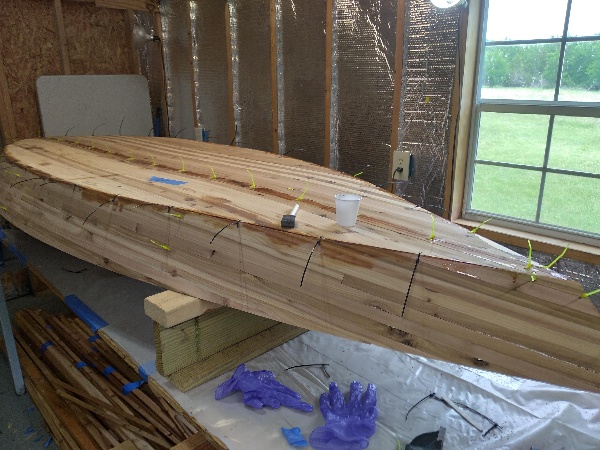
Gluing side panels

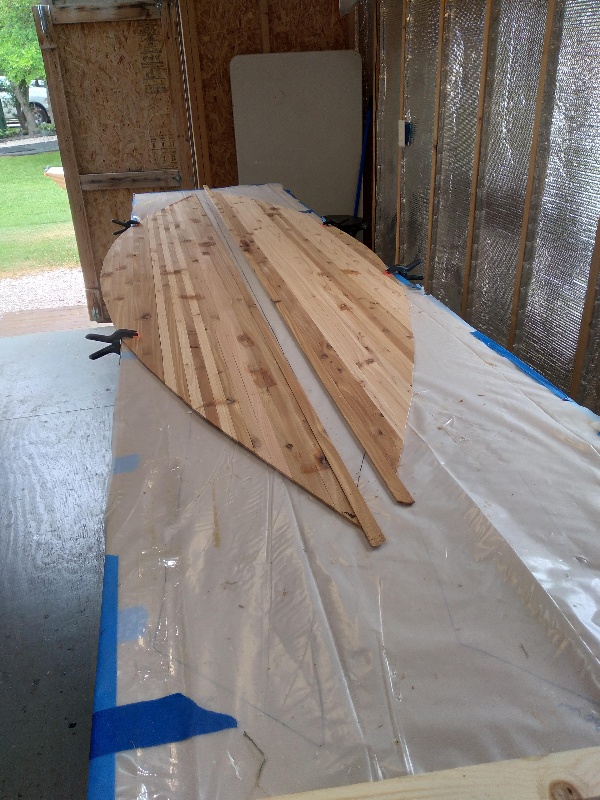
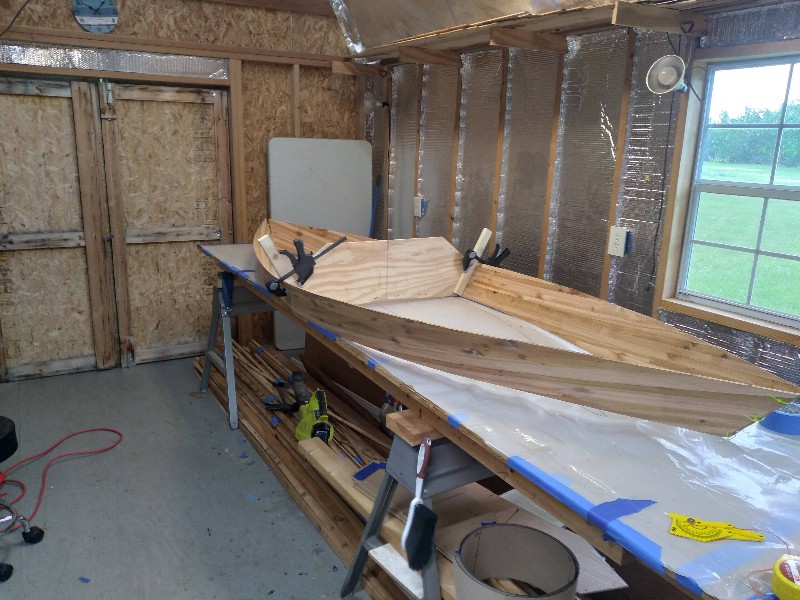
Side panels cot out
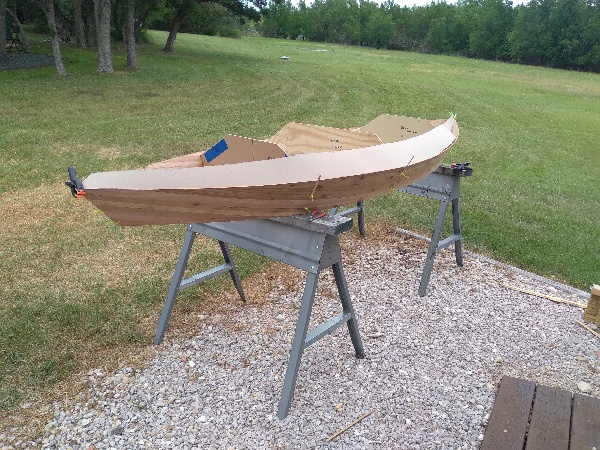
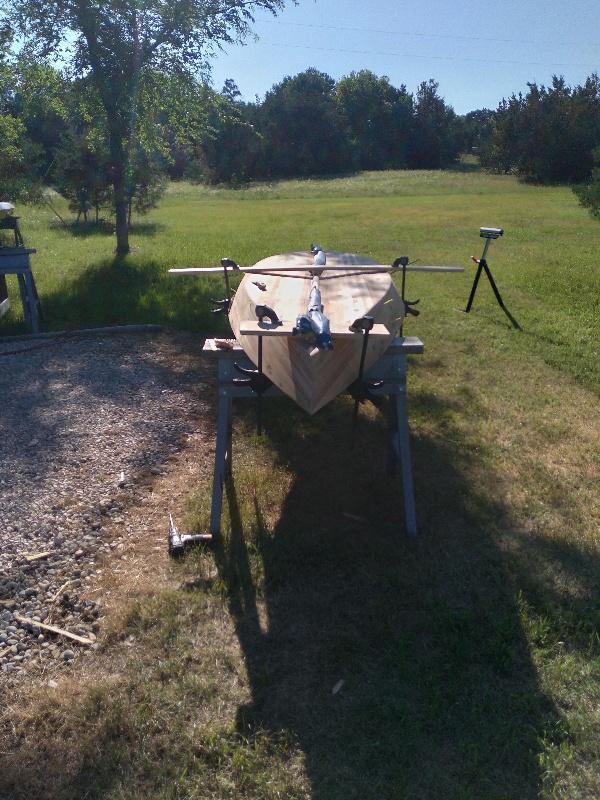
Center aft form clamped in. Rocker checked
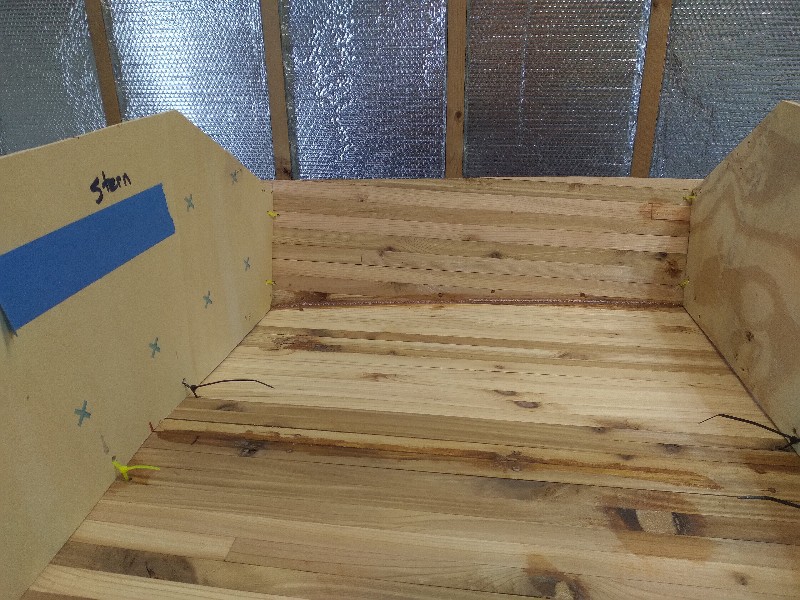
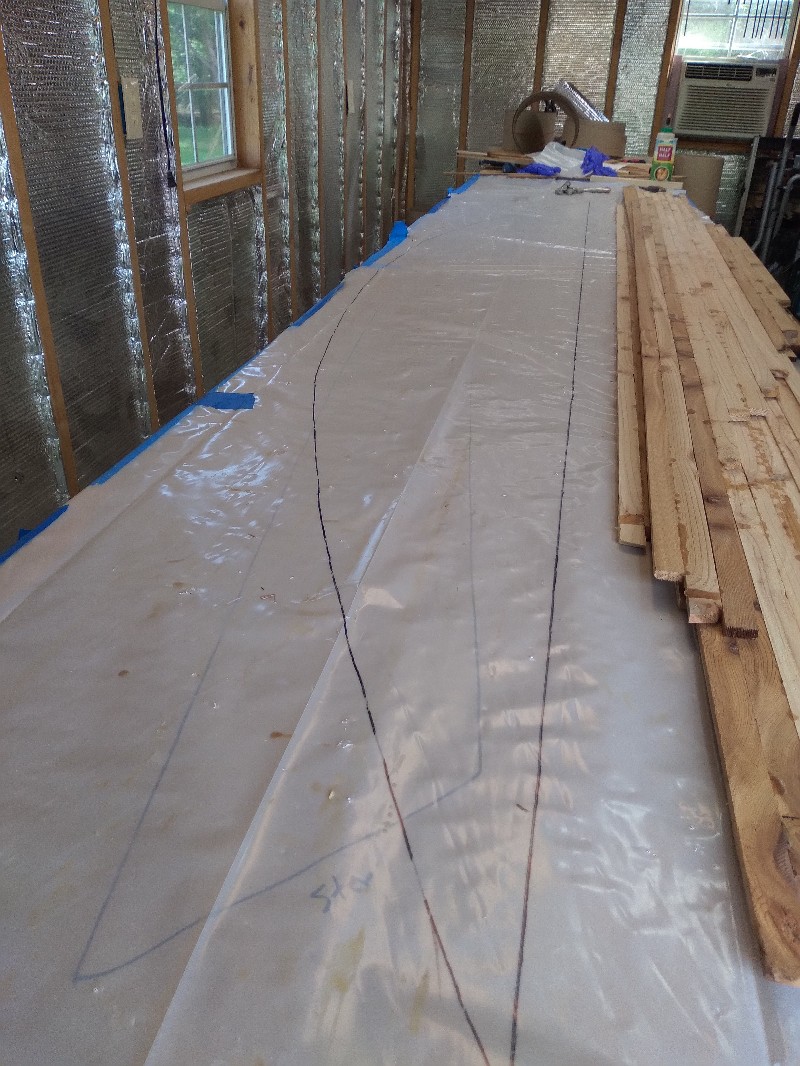 Outline of bottom panels traced on table
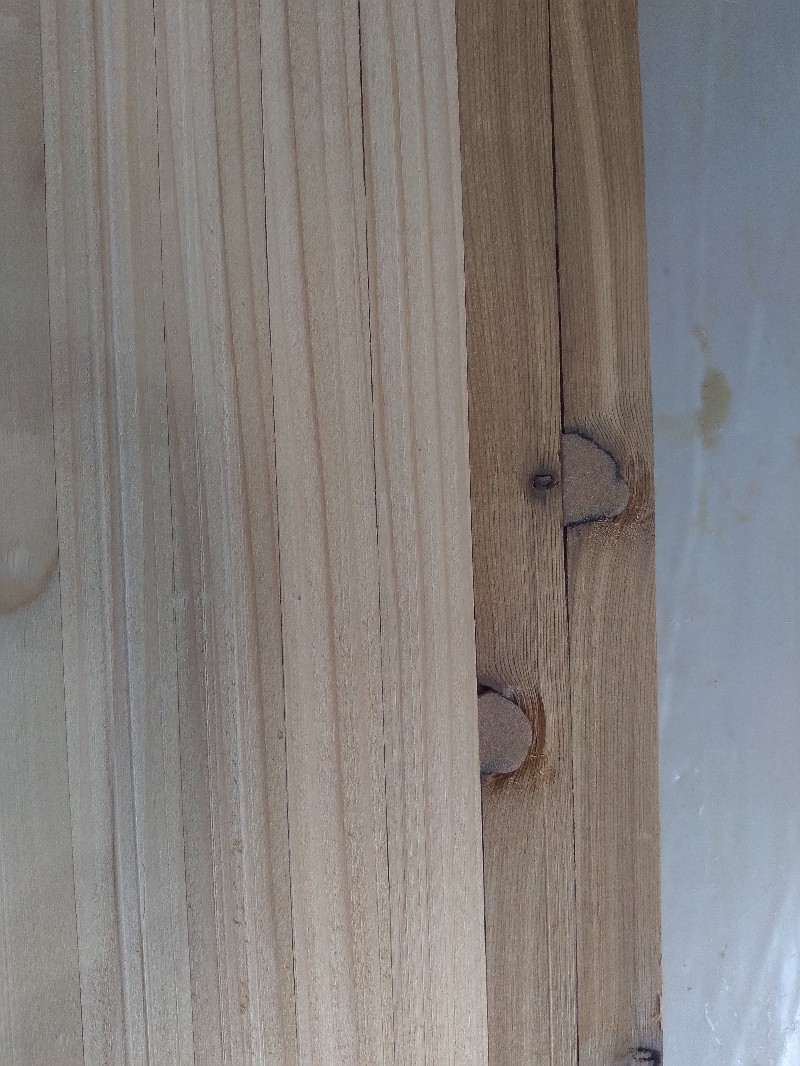
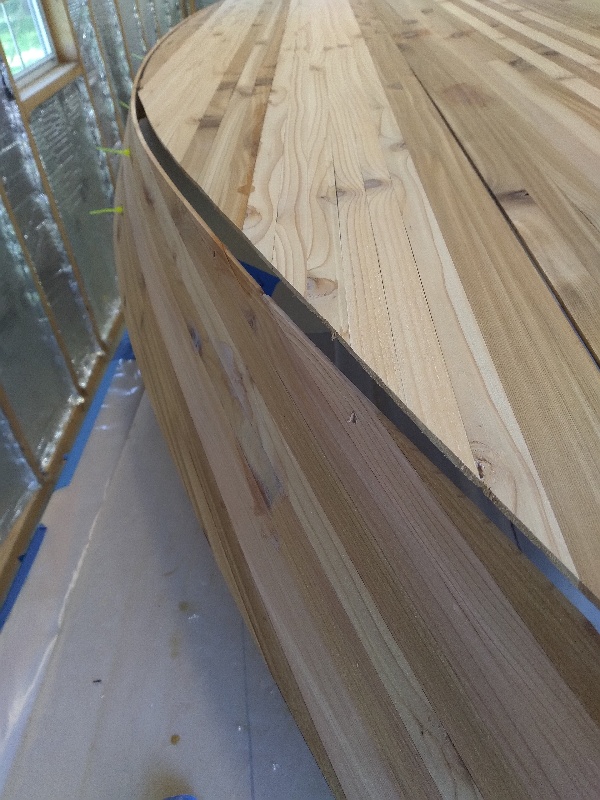
Sometimes folks ask about knot holes this is how I do them
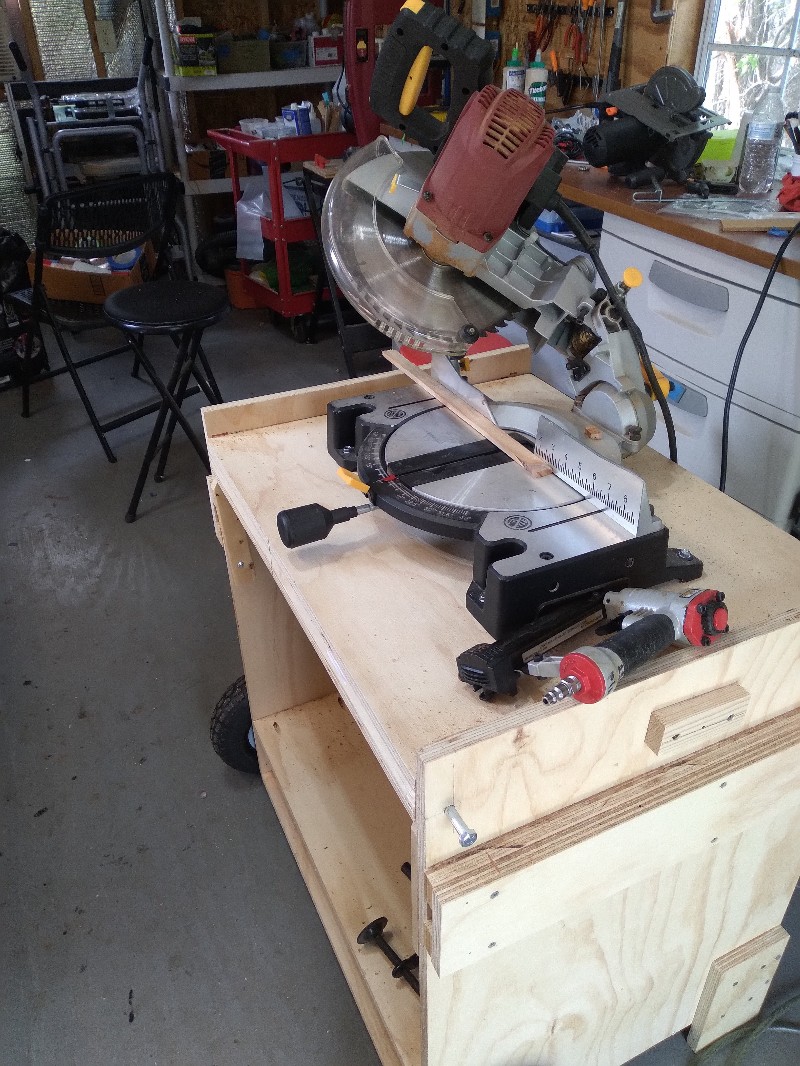
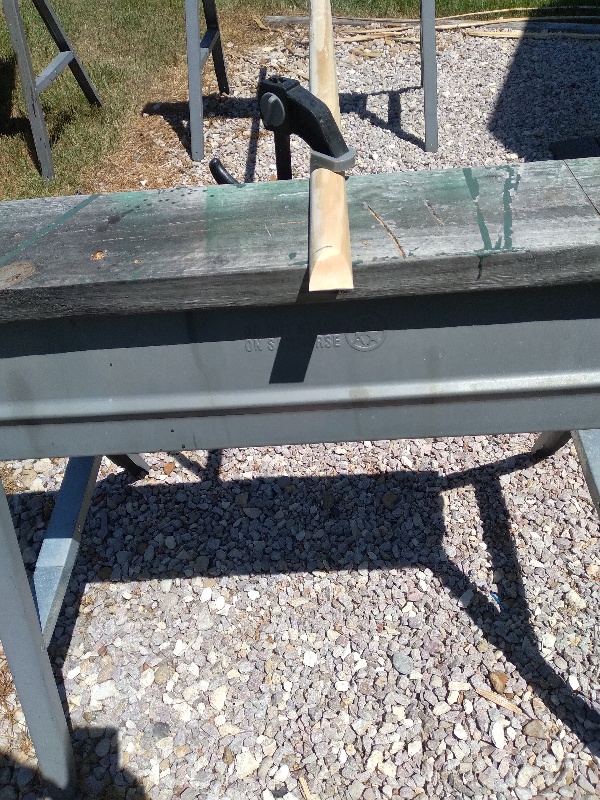
Miter saw to 45 too short strips into one long piece I guess you could call it scarfed
That's all for now, need to stitch in forms and see if bottom tracing fits.
Andy
Recall that a while ago, I “copied” a water moccasin pirogue. I built undersized hoping to make it very light weight, it’s lightweight at 14.8#, but just too small, cramped, and tippy for this stiff 77 year old. So this build will attempt to make a boat nearly the same only bigger and more flare.
This SS &G will be different in that the strips will not follow the profile of the boat but will be flat in the panels,the bends on the tumble home of the previous attempt were to severe. I started by lengthening the sides about 14” and increasing the chine “cut back” an inch, that is a more severe rainbow shape. I also drew the sides ½ “ taller in case I later need to increase the cutback.The forms will be about 32 degrese flare with an inverted v bottom.
I’m a little braver this time, drew the sides on the glued stripped panels and cut them out. put the center form in and traced the bottom on the plastic covered table. Much easier than making luan patterns to try out.
I got lucky the flare and rocker worked out 2” bow, 1” stern. Thank you Beekeeper and Jdupree for educating me!
Time to go back out and cut out the bottom, a little oversize at first, don’t want to press my luck!
Gluing side panels
Side panels cot out
Center aft form clamped in. Rocker checked
Sometimes folks ask about knot holes this is how I do them
Miter saw to 45 too short strips into one long piece I guess you could call it scarfed
That's all for now, need to stitch in forms and see if bottom tracing fits.
Andy
")