Truck Boat #2 | SouthernPaddler.com

Truck Boat #2

beekeeper

Well-Known Member
Mar 4, 2009
1,917
59
Started a new pirogue. It will be similar to my last boat but with some small modifications. A few inches shorter to fit in the truck better and some cosmetic changes for the sides and decks(breasthooks).
Fitting the chine logs at the stems:


beekeeper
 

beekeeper

Well-Known Member
Mar 4, 2009
1,917
59
After the logs are attached to the bottom I turn it over and trim the excess.

It is supported on my strongback(not attached to any forms) and the stems are installed.


The bottom is then shaped to the rocker I desire by moving the height of the strongback stations as needed.


beekeeper
 

jdupre'

Well-Known Member
Sep 9, 2007
2,327
40
South Louisiana
Boy, what a completely different method of building than I'm used to. Seems to work mighty fine for ya. With your way, you can set the rocker exactly like you want. My way is maybe just a little less precise.
I think I told you this already, but a friend of mine grew up in Harvey, across the river from New Orleans. His neighbor started a pirogue by pounding four foot long sections of cypress into the ground at the right angle and the right distance apart to form the stems of his pirogues. He bent the sides and nailed them to the stems, put in the ribs and then nailed on the bottom. After that , he just cut the boat free of the stem pieces and the pirogue was ready for paint. It was a building jig and building table all in one.

What kind of ply are you using on this one?

Joey
 

beekeeper

Well-Known Member
Mar 4, 2009
1,917
59
It is different but I think it works well. It seems to eliminate some of the guessing if you are building without plans or patterns. I don't have to guess at how much swag to cut or how much side flair to use in the sides for X" of rocker or the beam I want.. Like building a house you start with the foundation (bottom) and build onto that. Frame it (chin logs, stems, ribs, etc,), install walls (boat sides), and then the roof(decks).

beekeeper
 

beekeeper

Well-Known Member
Mar 4, 2009
1,917
59
Can not have too many clamps. Made these clamp helpers to hold the side panels to the chine logs.


beekeeper
 

beekeeper

Well-Known Member
Mar 4, 2009
1,917
59
I had intentions of making some patterns from cheap ply so the next build would simply be a matter of drawing out the lines onto the good ply or use them to make strip panels. I should have just built the boat as I usually do because I have never built two boats the same. Long story short. pattern was not correct and I built two sides that would not work. The flimsy ply's butt splice moved or itwas too stiff to show the proper curve. A very good learning experience but a waste of time and work.
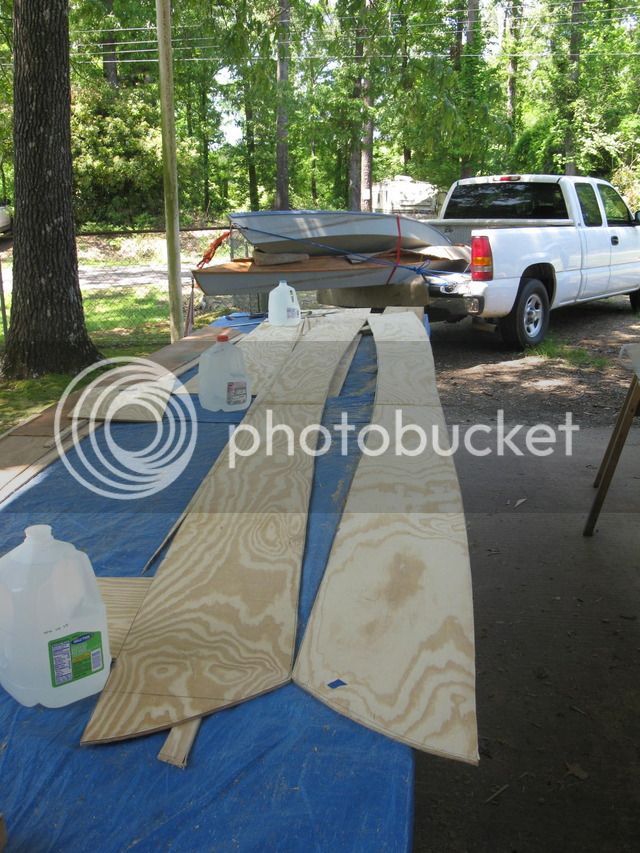
This boat's sides are 8" high and flair 30deg. at its widest point. I found out because of the 5"+ arch needed to match the rocker I wanted, two 12" X 8' panels glued end to end to form a straight board will not work. As I have done before 11" wide panels joined at the proper angle will work . They will make a board that appears bent or shaped as a shallow v.

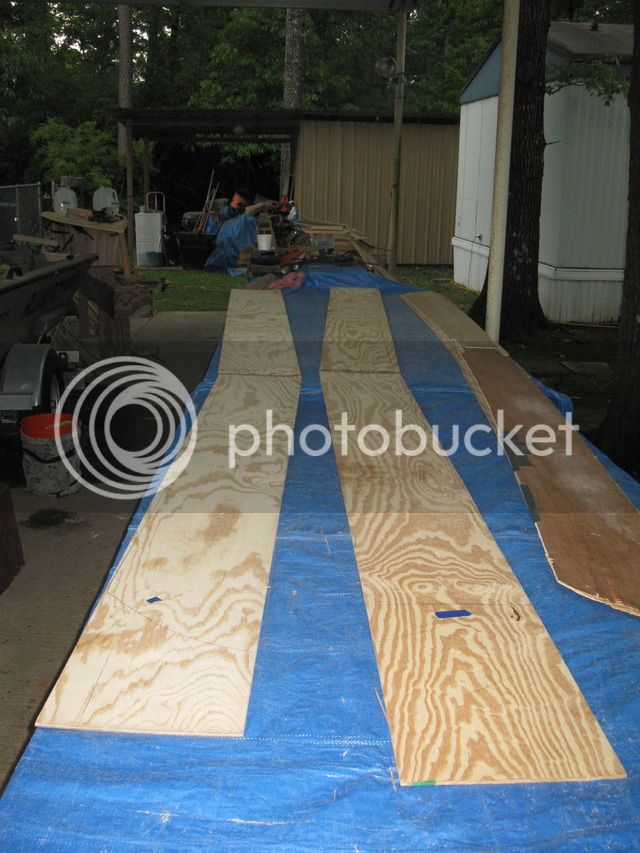
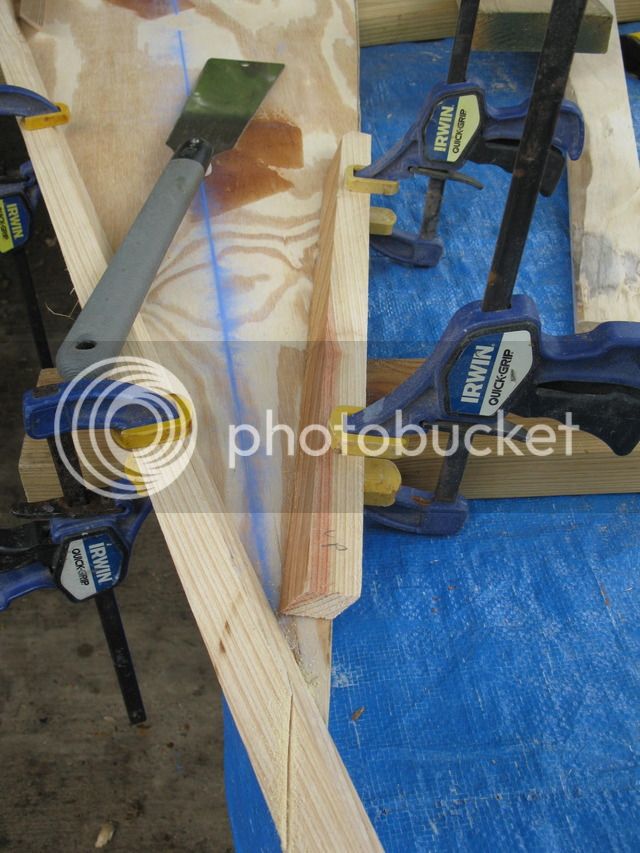
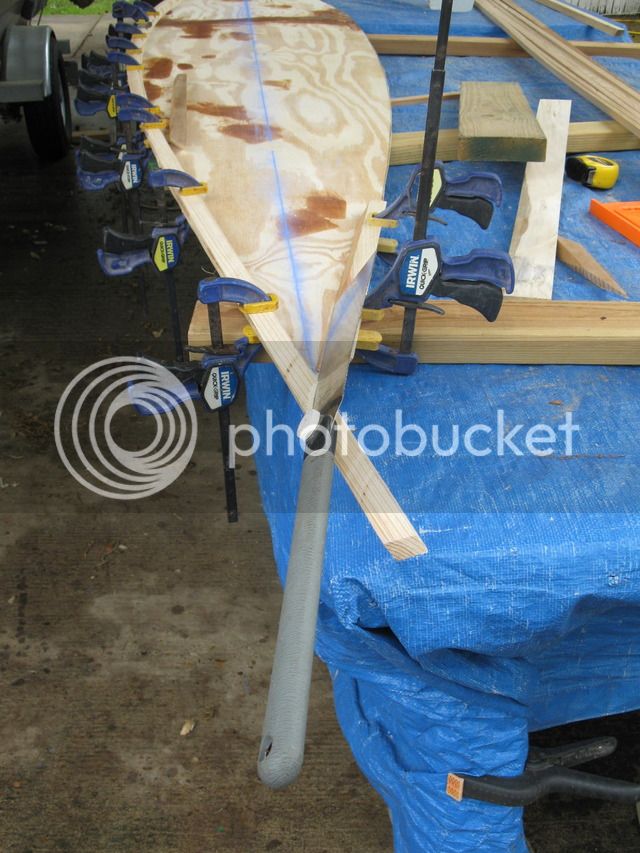
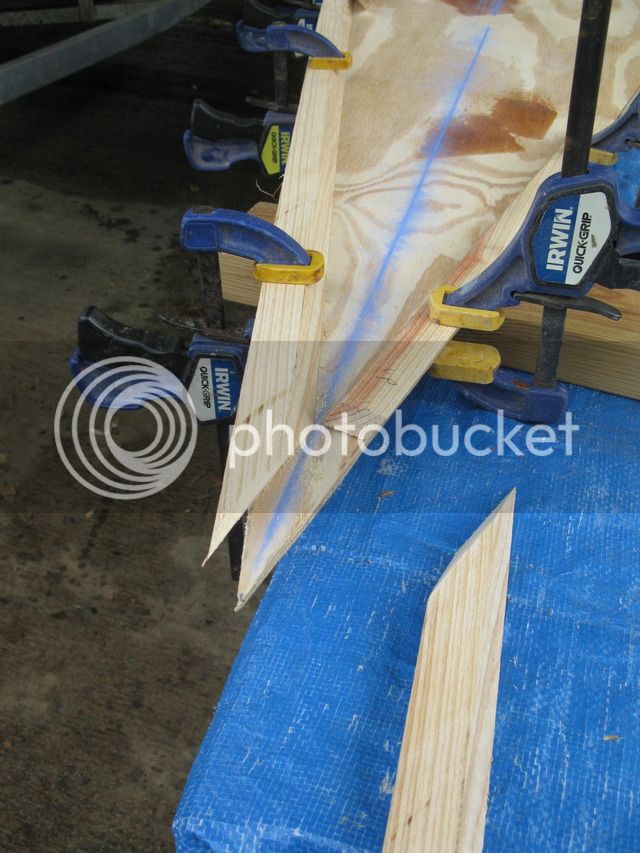
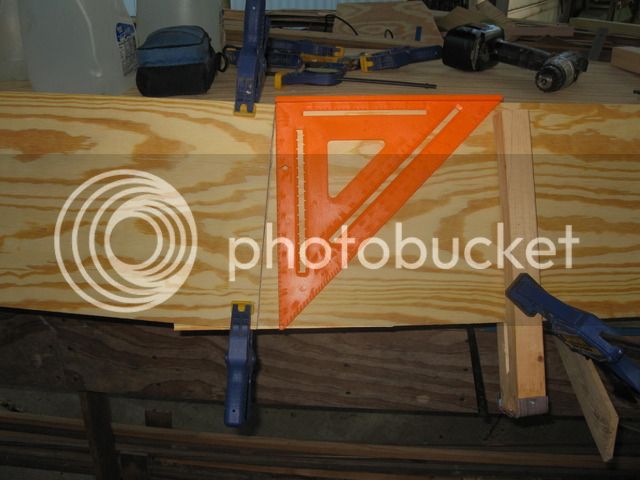
The angle is easy to determine. I clamp in place one panel and then the other, overlapping where I want my splice to be. Marked the end of the top panel on to the other. Removed the panels, and made the splice at the angle indicated. I did scarf joints so I had to allow for the extra length needed.

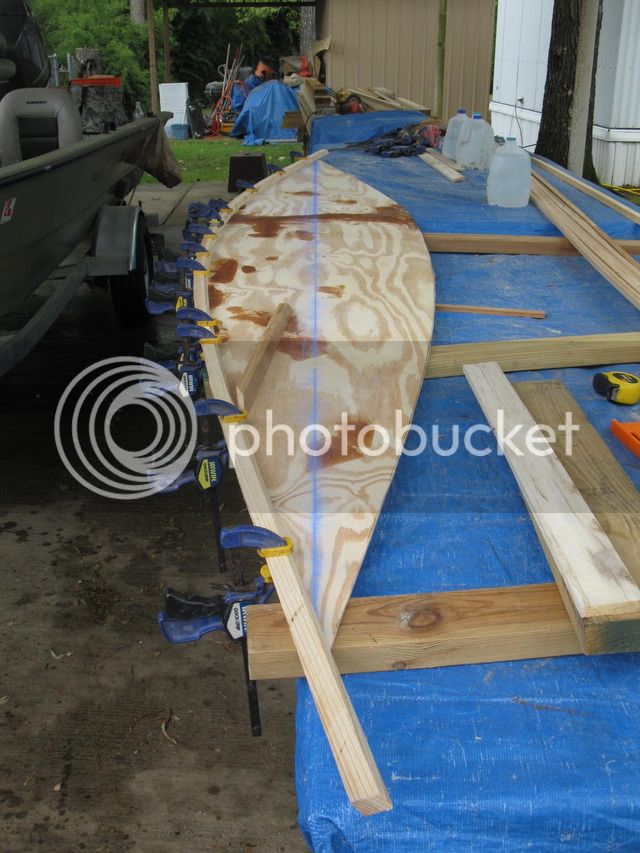
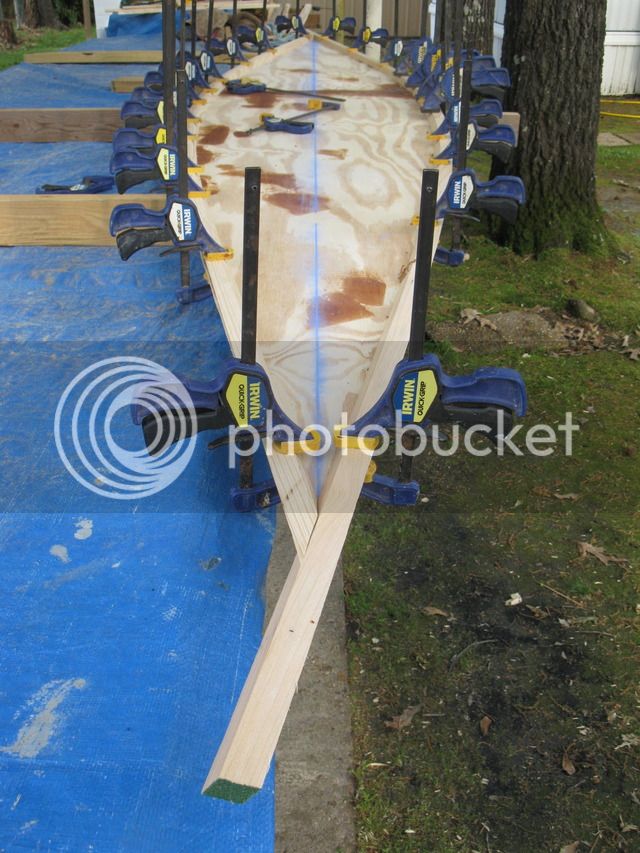
After the joint cures completely I reattached the sides and traced along bottom edge of the floor and the stem pieces where they meet the sides. Removed the sides and marked the top edge of the sides close to the shape I am looking for. Their final shape will be made after the sides are attached and can be turned over. I then cut out the outline but stayed proud of the lines .


beekeeper
 

beekeeper

Well-Known Member
Mar 4, 2009
1,917
59
Last picture for now. It will be a few days before I can start back work on the boat. Sides are attached and planed flush with the bottom.

I clamped a batten to the gunnel edge of the side panel to get a feel for how the lines flow. Anxious to turn it upright and proceed with the tumblehome and breashooks.

beekeeper
 

beekeeper

Well-Known Member
Mar 4, 2009
1,917
59
jdupre' said:
Boy, what a..................

What kind of ply are you using on this one?

Joey

Sorry I overlooked the plywood question. It is sanded ply, BC pine, from the box store. Saw a stack with some decent pieces and could not pass them up. Naturally after I started working with them they weren't as "clear" as I thought.

beekeeper
 

beekeeper

Well-Known Member
Mar 4, 2009
1,917
59
Sometimes I take a break from boat building and go fishing, or do I I take a break from fishing to build a boat. I don't know which , but their both fun. :D
Made a couple tries for the fish but not much luck. When I could go conditions were not the best. Lots of rain and cooler than norm temperatures.
I am not sure of the outcome or even the path I'll take, but I want the tumblehome panels to flow into the breasthooks at a more natural manner than my last two boats. I am challenged by the complexities of boat design and building.

beekeeper
 

beekeeper

Well-Known Member
Mar 4, 2009
1,917
59
Finally got back to building (between rains). Turned the boat upright and got my first glimpse at what the final form may be.


Next step was to install the inside gunnels.

I then planed the gunnels to the angles I wanted. They decreased in angle towards each end to allow the tumblehome panels to be near horizontal at the stems.

The stem pieces were cut flush so they will fit under the panels.


beekeeper
 

beekeeper

Well-Known Member
Mar 4, 2009
1,917
59
Temporarily installed the base of the breasthooks/decks but did not like the fit. There was going to be a space created between it and the panel.

Contacted the designer and used a revised framing method. This will support the breasthooks flush with the plywood and will reduce the weight some.


beekeeper