The Swamper- new design | Page 4 | SouthernPaddler.com

The Swamper- new design

jdupre'

Well-Known Member
Sep 9, 2007
2,327
40
South Louisiana
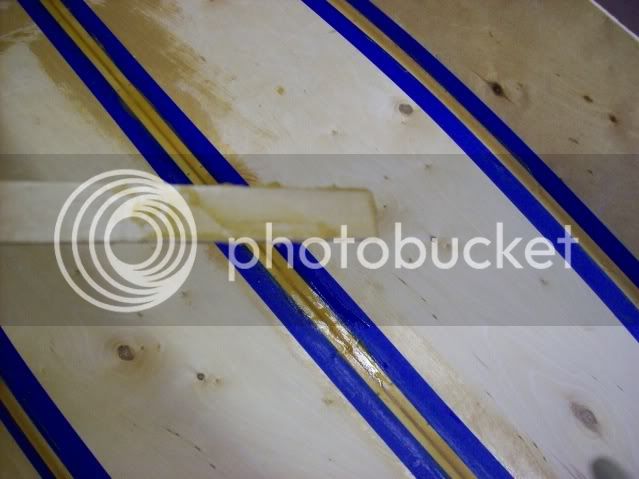
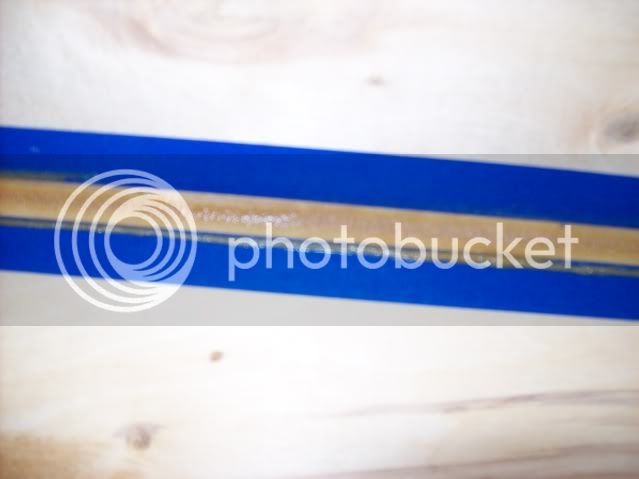
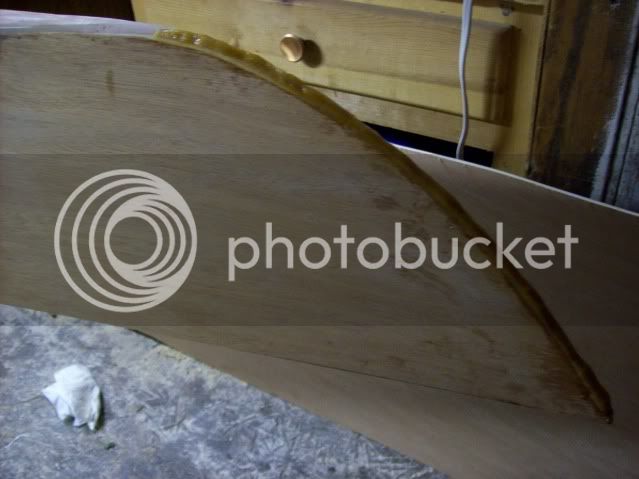
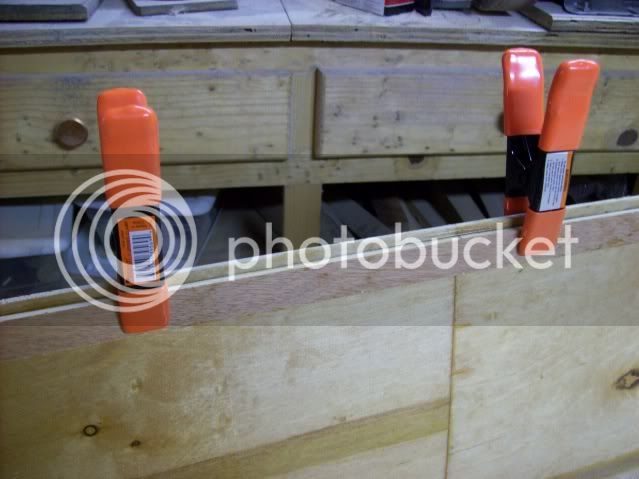
I finished the filets on the outside. I did them in my cramped shop because of the cold, rainy weather. A little tight but doable.

100_0796.jpg


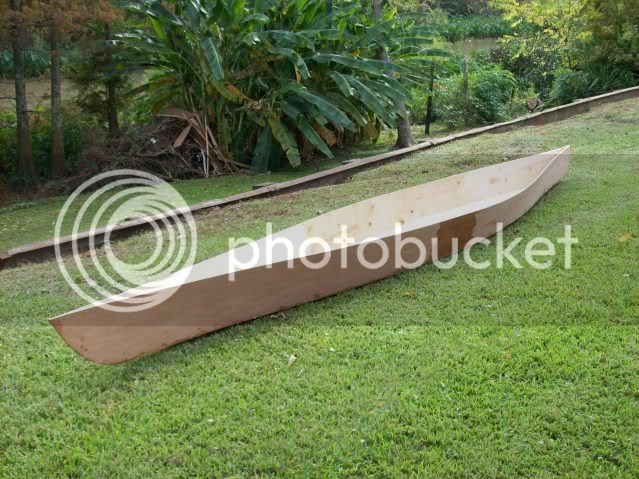
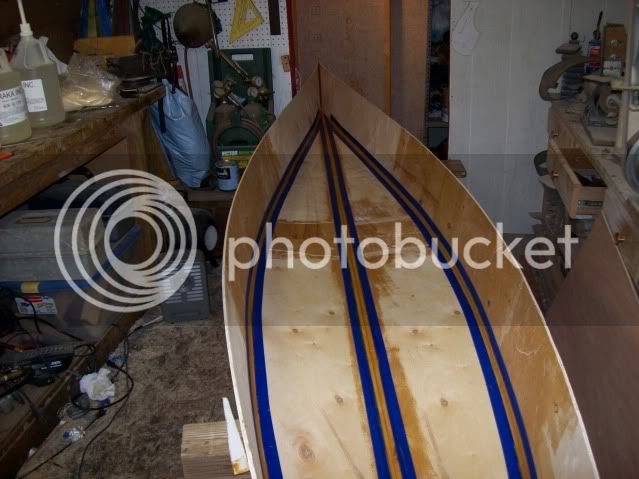
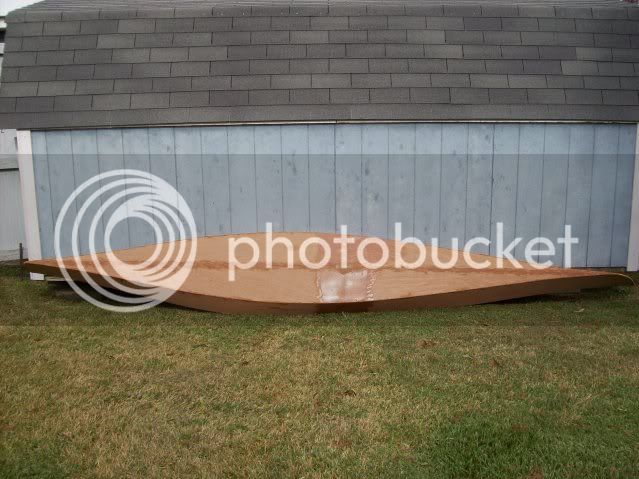
Here's a shot of the bottom shape. First time I've seen it from more than 3 ft away.

100_0795.jpg


I was really satisfied with the pinched in bow and stern shapes. She ought to have good speed and glide. I borrowed that idea from the Sea Wolf build on "How it's made".

Next step - inside fillets.

Joey
 

jdupre'

Well-Known Member
Sep 9, 2007
2,327
40
South Louisiana
Just finished the inside fillets. Much easier and neater than the outside seams. I put down tape on each side of the seam and used a rounded stirring stick to apply the material. Made me a small scraper from another stirring stick to pick up the excess material left on the tape.

100_0800.jpg


A bit fuzzy, but this shows how clean the tape comes out with one swipe of the scraper.

100_0797-1.jpg


The material collected on both pieces of tape on a 6ft. run is enough to fill in about 3 or 4 inches.

100_0798.jpg
 

jdupre'

Well-Known Member
Sep 9, 2007
2,327
40
South Louisiana
Wannabe said:
Joey, Ya gotta bring this boat with you for us to see in March. I'll distract you while Ron-- uhh never mind.
Bob
Bob, I sure hope it's finished by then. :roll: Cold weather, rain and not enough days off make for a long build. Still lovin' it, though.

Joey
 

jdupre'

Well-Known Member
Sep 9, 2007
2,327
40
South Louisiana
jdupre' said:
jdupre' said:
A few things I've learned:

1. If at all possible, build a work table about as long and wide as your boat.
2. Leave the edge exposed all around so the spring clamps can fit around two pieces of your ply and the table edge. Very
handy.
3. An accurate centerline down the length and across the width off your table is handy.
4. Measure twice, think about it for a while, measure twice more and THEN cut. :mrgreen:
5. Use the leftover filleting material on all those cheap spring clamps to keep the plactic grips from coming off.
6. A sharp hand plane followed by a 20" fairing board with coarse grit paper attached smooths out all the dips and bumps
on the ply edges.
7. Line all seams with tape when applying epoxy. When set up, remove tape and run a gloved finger dipped in acetone along the raised edge left by the tape. MUCH,MUCH, MUCH easier than sanding. ( Thanks for that tip, Chuck.)
 

jdupre'

Well-Known Member
Sep 9, 2007
2,327
40
South Louisiana
I used the tape on the inside seams but not on the outside ones. That was a mistake. I could have saved myself a lot of work by taping them. Another benefit is that the less you have to sand, the less chance there is of sanding through the top veneer, especially when using "inferior" ply. :wink: What little sand-throughs there are on the bottom panel will be covered up with the graphite coating.

The inside seams look like they will just need a little scuffing up to be ready for the glass.

Joey
 
  • Like
Reactions: oldbuffpilot

tx river rat

Well-Known Member
Feb 23, 2007
3,043
2
Waco Tx
Joey
I know you love the perows,but this boat is going to spoil you,the ease of paddling,not just speed but it doesnt work you as hard. On the last boat I built I went to a six ft cockpit ,has a lot of room,
Landing and departing are different,most of the time I slide in sideways ,then lean and push up on the bank,works pretty good.
This boat is going to make taking the perow harder :D
Ron
 

jdupre'

Well-Known Member
Sep 9, 2007
2,327
40
South Louisiana
I think you may be right, Ron. She should be an easy paddler. Getting in and out will take a little ingenuity. We really don't have beaches or sandbars around these parts. Almost every foot of shoreline or bank has something growing out of it or piled up along side of it- trees,bushes, cypress knees, blowdowns from the last 15 years of hurricanes, etc. Makes life interesting.

Not much I can do in my small shop so I added a nice fillet to the bow and stern for protection. The smudges are from before I started taping around all seams.

100_0801.jpg


I ran a line of tape right to the edge and applied the material. About 2 hours later I removed the tape and smoothed out the transition with a little acetone. Next,I shape and sand the stems and sand the outside of the hull and she'll be ready for glass.

Joey
 

tx river rat

Well-Known Member
Feb 23, 2007
3,043
2
Waco Tx
JD
I would put my strips inside the top of the hull before I did anything else. Every filet and ounce of glass you put on her stiffens the hull aND WILL BE WORSE TO FIGHT LATER ON.
Ron
 

oldsparkey

Well-Known Member
Aug 25, 2003
10,479
123
Central , Florida
www.southernpaddler.com
Ron brings up a good point.........
if you are going to deck her then the next logical step would be to run an inside rail for the deck to set on when it is installed.
Not sure how you plan on doing it but I like to run one ( a thin strip) for the deck to rest on , down from the top of the sides , the thickness of the wood for the deck. If the wood for the deck is 1/8th inch then the strip is placed 1/8th of an inch down from the top. ( This way when the deck is installed it will have some support to rest on and keep it level with the top of the side boards.)

It also helps to shape the hull the way you want it , then glass the hull and when done , go to work on the decking.
When the deck is cut , shaped , inside glassed and ready. Dry fitting it to the boat before gluing it helps to make sure everything is right. Then put some epoxy on the railing and set the deck back on it , run a bead of epoxy along the seam , that will cement the deck to the sides and soak into the seam to the railing sealing it. Next step would be glassing the outside and overlap the glass on the seam down the sides , about an inch or two.

Not saying it is the right way to do it , just the way I like to do it.

Chuck.
Sometimes to hold the deck in place it requires some masking tape to pull everything together as the epoxy sets up.
 

jdupre'

Well-Known Member
Sep 9, 2007
2,327
40
South Louisiana
Thanks for the advice, Ron and Chuck. I was following the recommendations (loosely :mrgreen: ) for the free Laker. I figured the inner shear strips would make glassing a little harder. I'll probably put them on first because the hull sides are wanting to get a bit wavy with the humidity. I like the idea of lowering them below the hull shear line. Gives a solid stopping spot for the decks.

Joey
 

jdupre'

Well-Known Member
Sep 9, 2007
2,327
40
South Louisiana
Started putting in the shear strips today. Bought a bag o'clamps and could have used twice that many.

100_0802.jpg


Going to try something with the decks to hopefully make it easier to align them. The decks will have a positve stop in depth and width. Thanks for the tip, Chuck.

100_0804.jpg


Making a little trip in the pirogue tomorrow and then finish up the shear strips.
 
I don't quite understand the concept of having your shear clamp lower than the side. Would your decks now sit inside the sides? Would the top edge of the sides now be exposed? I understood the purpose of the shear to be to give an long groove of sorts for thickened epoxy to bond the top to the sides. Am I missing something?
 

oldsparkey

Well-Known Member
Aug 25, 2003
10,479
123
Central , Florida
www.southernpaddler.com
With the shear under the top of the sides , the distance that the top is thick , lets the deck sit on it and be flush with the sides. It holds the deck in place and makes a difficult job of aligning everything up really easy.

After a dry fit , then apply a coat of epoxy to the edge of the deck ( underside) and to the top and sides of the sheer and side panels , set the deck in place on the epoxy. Now take and run a bead of epoxy along the junction of the deck and sides. That epoxy will bond the sides of the deck to the sides of the boat and to the shear strip making a good seal for the deck and sides.

Any spot that is not fitting right can be taped to pull it together. ( Make sure some plastic is between the tape and the wet epoxy) When all of that is done , glass the outside of the deck and over the sides a couple of inches and the boat is really secured and one unit.

Not saying it is the right way to do it , just is the way I do it when attaching a deck to a boat.
Some other benefits are.....
1...The shear strip also helps to define the shape of the hull.
2...It helps to reinforce the sides and junction of the sides and the deck.
3...Is a dang site easier to do then running a strip of fiberglass along the underside of the deck and hull. A person could still do that if they wanted to.

Chuck.